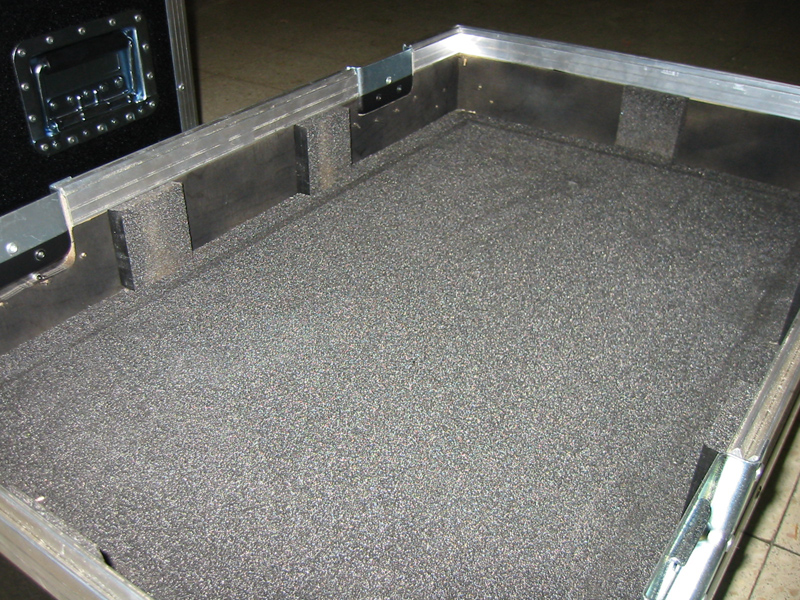
The way you finish the inside of your flight case of course totally depends on what the case is for. As my case is meant to transport a heavy loudspeaker, I’m going to use hard foam from the flightcase-brico.com web shop. There are several thicknesses, but I’ve opted for foam of 1.5 cm thick. I’m not going to stick the foam all around the inside of my flight case, but just on the top and bottom, and some strips of foam on the sides.
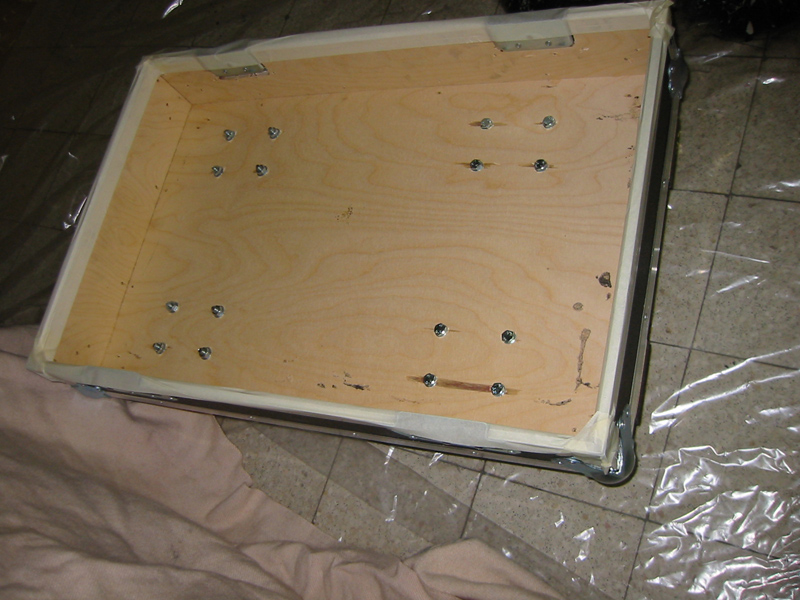
This is why I’m first going to spray or paint the inside black before attaching the foam. To do this neatly, I’ve also covered the lid locations with wide masking tape first, as you can see on the picture here.
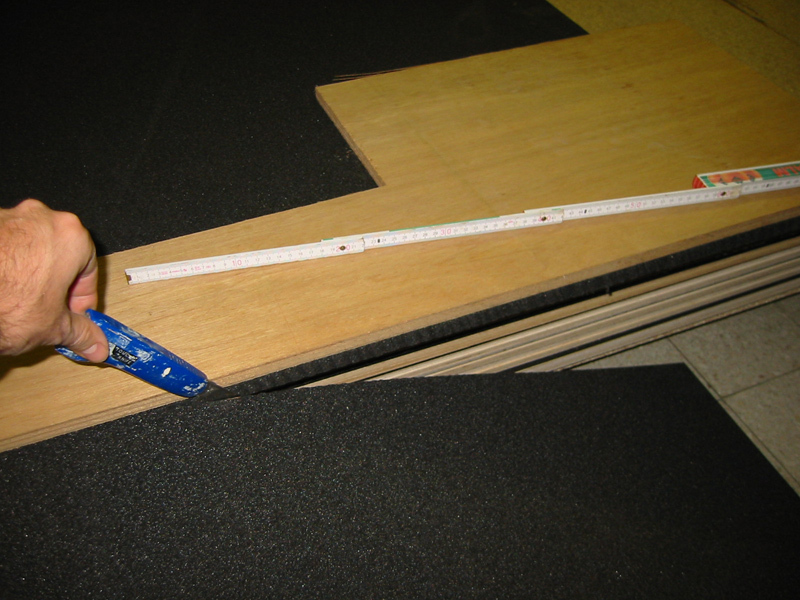
Once the painting is finished, you can start cutting the foam to size with a sharp utility knife (cutter). If you’re not confident about cutting straight, you can use a plank or an aluminium ruler as a ‘guide’. It’s best to use quick-dry spray glue to stick the foam on.
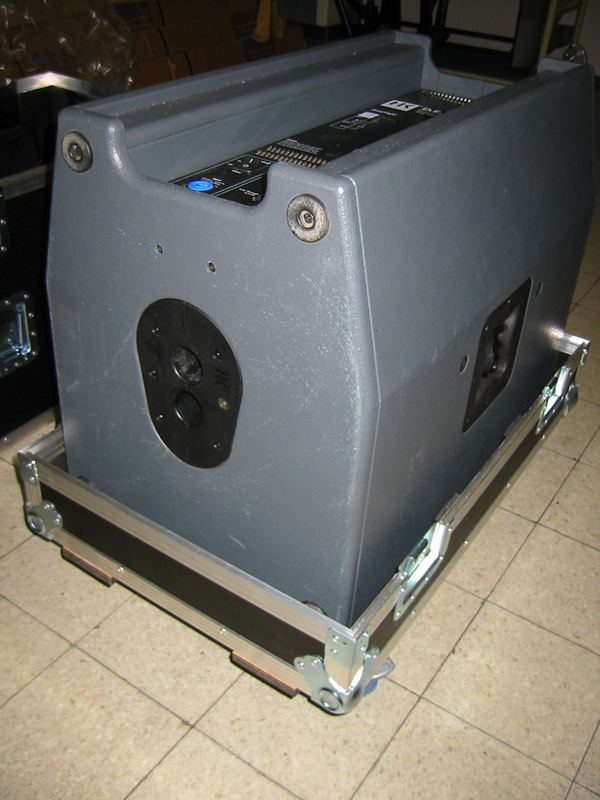
Once all the foam is in the right place, I’ll just see whether my loudspeaker fits nicely in its case and hopefully you’re pleased with the end result. Congratulations! You’re now the proud owner of your very own, custom-made, professional flight case.
>>> Buy your parts <<<
Any questions? Don't hesitate to contact us!