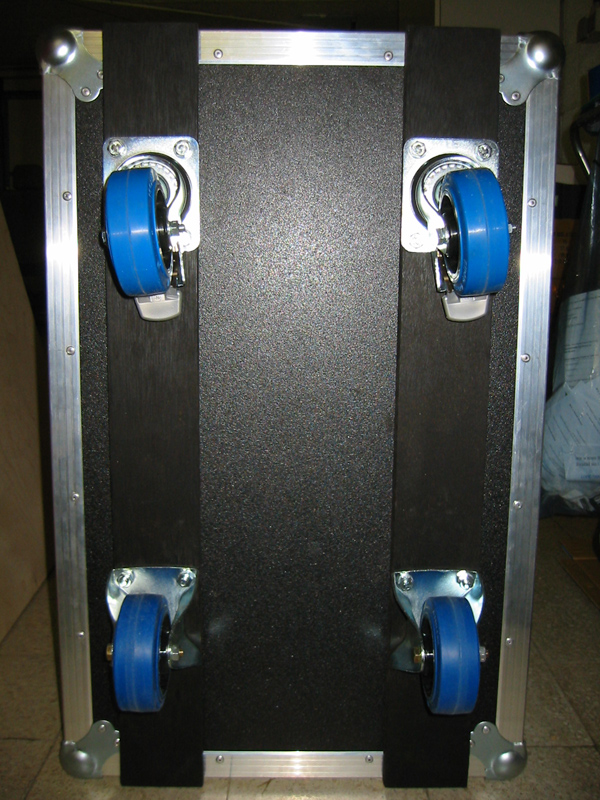
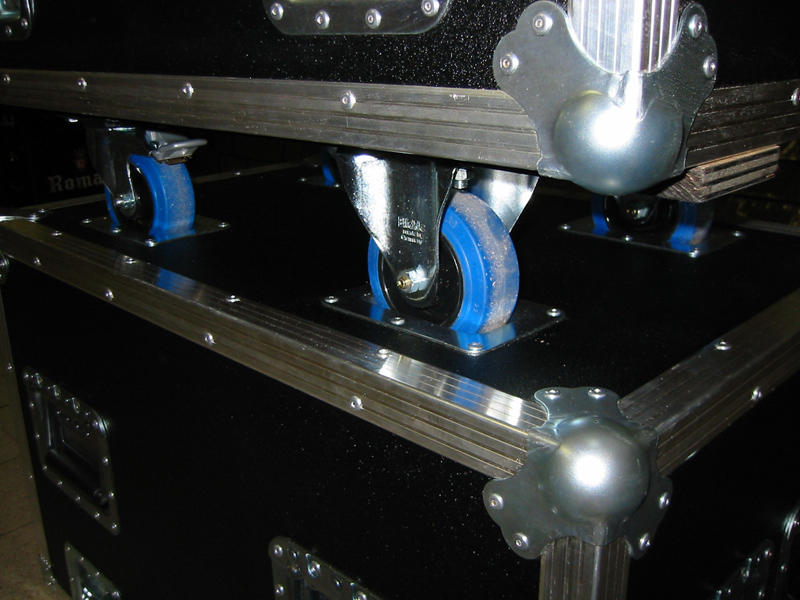
This flight case will be very heavy: the loudspeaker itself weighs 40 kg and adding the flight case itself to that will mean the whole thing will weigh well above 50 kg. So I’m definitely going to put wheels under it. You can choose either fixed or swivel castors. Swivel castors come in a braked or unbraked version.
Most people opt for swivel castors, but I personally prefer to combine two swivel castors with two fixed ones, as I’m going to tip this particular flight case in the van. In my case, I’m going to fit the fixed castors on the side where the case will touch the floor when it’s tipped. With swivel castors I’ve always had the problem that the wheels end up hanging upside down and that always gives a little bump at the moment you want to put the case on its wheels again. But that’s just a matter of personal preference, of course.
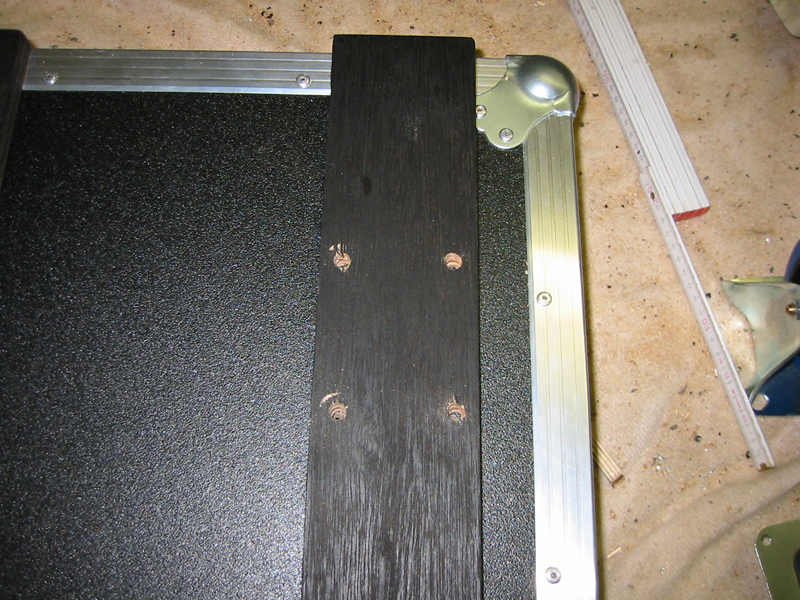
OK, now let’s get down to putting the wheels on. They’re usually not attached directly to the flight case itself, but mounted on a wheel panel. For this particular case I’m using 18mm plywood for this. I’ve sawn two pieces of 8.5 x 72 cm (= more or less the length of the flight case, including the case angles) and sprayed them black before using them. That’ll look nicer.
The reason why we use extra wheel panels instead of just attaching the wheels straight to the bottom of the flight case has of course to do with the load capacity and strength of your case. We positively make sure the wheel panels continue to right under the case angles. Drill four holes and fix with sturdy nuts and bolts. Teenuts are even more professional. They’ll make sure you don’t lose any space on the inside of your case.
Tips for wheels under your case
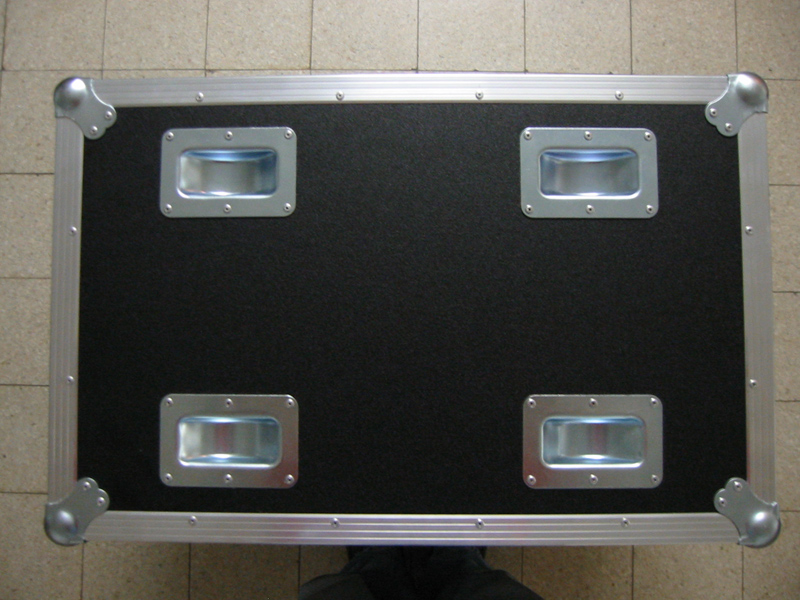
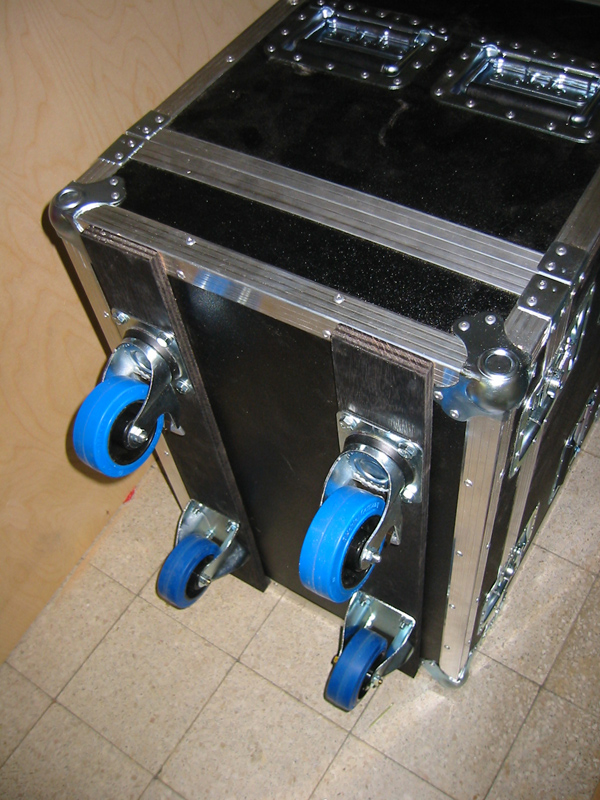
Oh, yes, as I said in the beginning, I’m going to make two identical cases, because obviously I've got two loudspeakers. I’ll be able to tip both and then put them on top of each other with the stackable ball corners, but I also want to stack them the right way up (with the wheels on the bottom), so I can move them easily. Therefore I’m going to fit them with four castor dishes at the top as well. The 100mm-wide castors will fit in there perfectly, so I’ll be able to stack the cases that way too. Careful though: actually you should take this into account from the start when you’re determining the measurements of your flight case, because castor dishes tend to stick out about 20 mm on the inside.
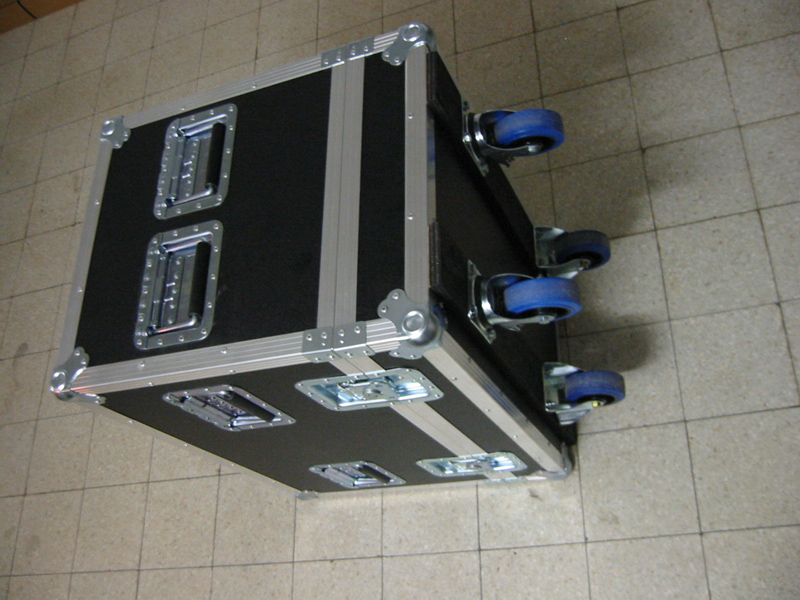
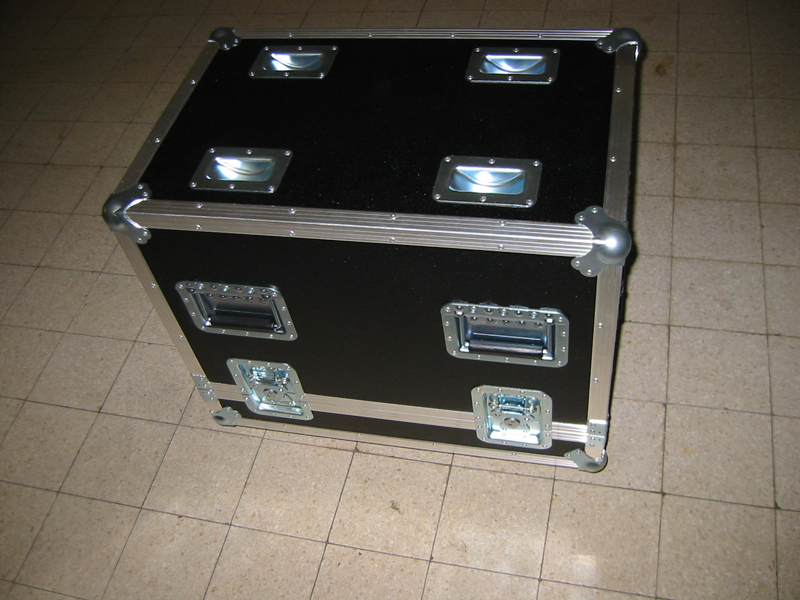
Tadaaa, the wheels and castor dishes are in place. And this is the result. So now we’ve only got the inside of the case to do still. That’s the next and last step.
To the next step => Step 7: inside finish