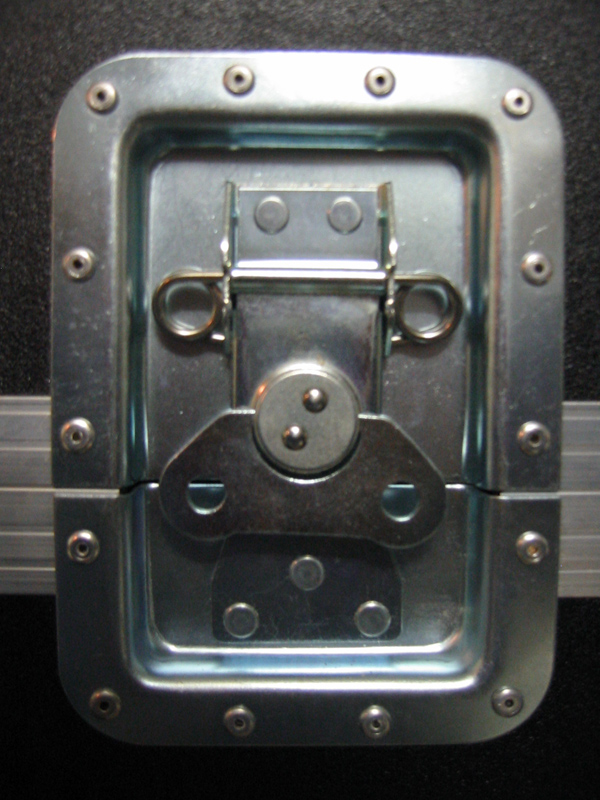
Real flight cases don’t use drawbolts, but real recessed butterfly latches. You can choose either the medium or large version. I’ll opt for the large one. You can also choose with or without spring. The spring kicks out the latch at an angle below 30º, so it’s best to take the sprung version if you’re going to be using the latch upside down, as in my case. My lid will have four butterfly latches, so it’s really useful to use the sprung version, otherwise it’ll be difficult to put the lid on, because the latches will always be in the way.
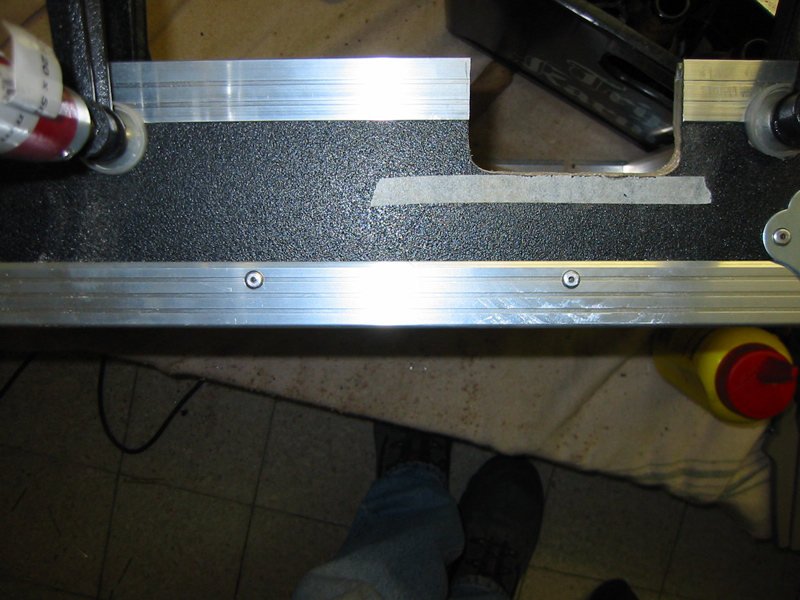
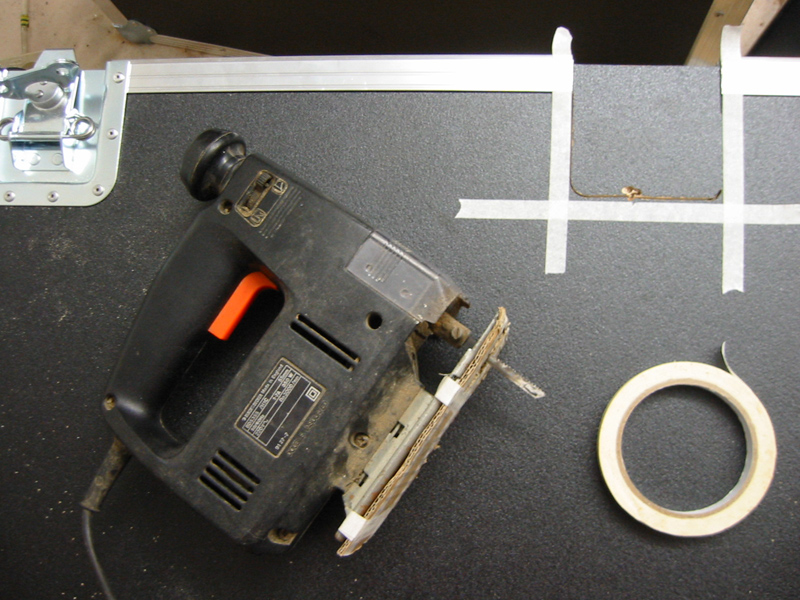
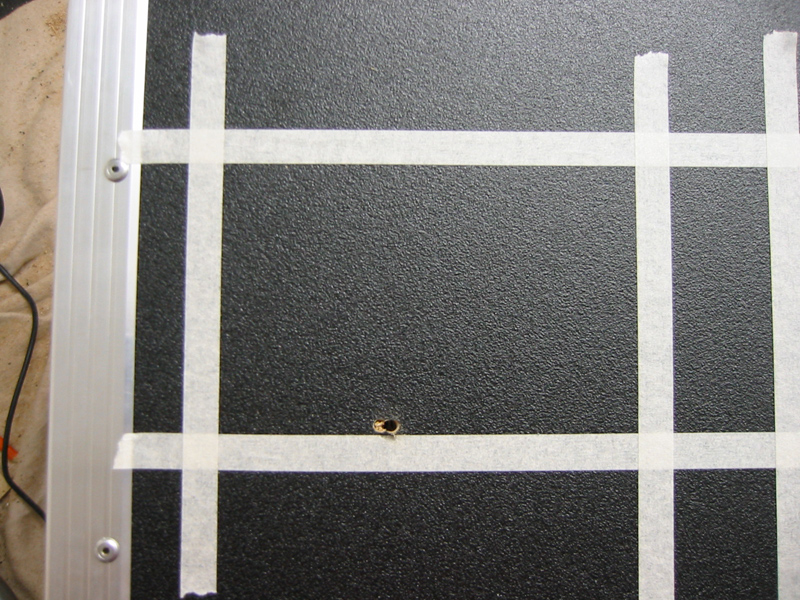
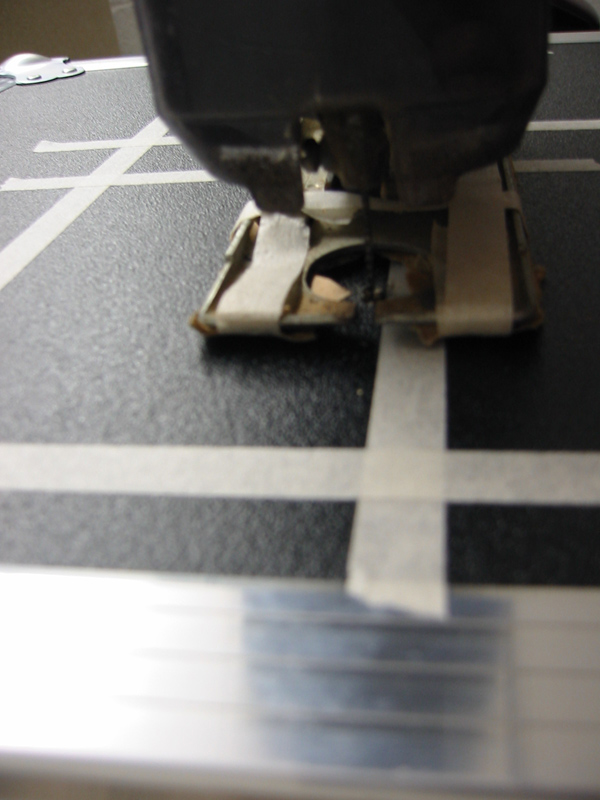
First, measure and saw a piece of the right size out of the lid location. I’m using easy-to-remove masking tape to mark the outline, because it’s difficult to draw a line on the flight case wood with pencil. Once you’ve removed the bit of lid location, saw the remainder of the hole you need for the butterfly latch out of the case with a fretsaw. Drill a little hole first to get your blade through and away you go!

Now you’ve made the hole, you can fit the part of the butterfly latch into it. Maybe round off the edges of the lid location with some sandpaper and the edges of the hole in the wood with a file as well. Make sure the butterfly latch isn’t perfectly level with the lid location, but about half a millimetre below it. First drill the two holes in your lid location - again, don’t drill these all the way through - fix these with short rivets. Then fix the other holes. You can drill these all the way through and use long rivets to fix.
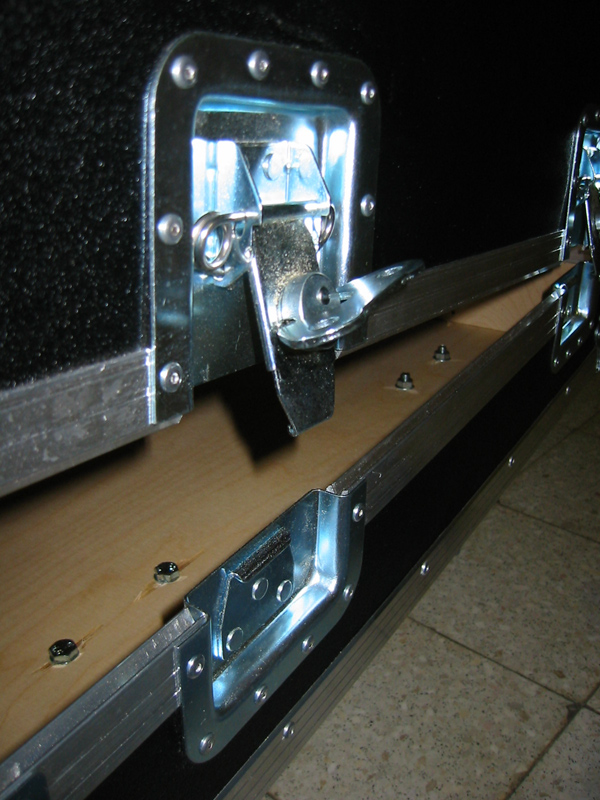
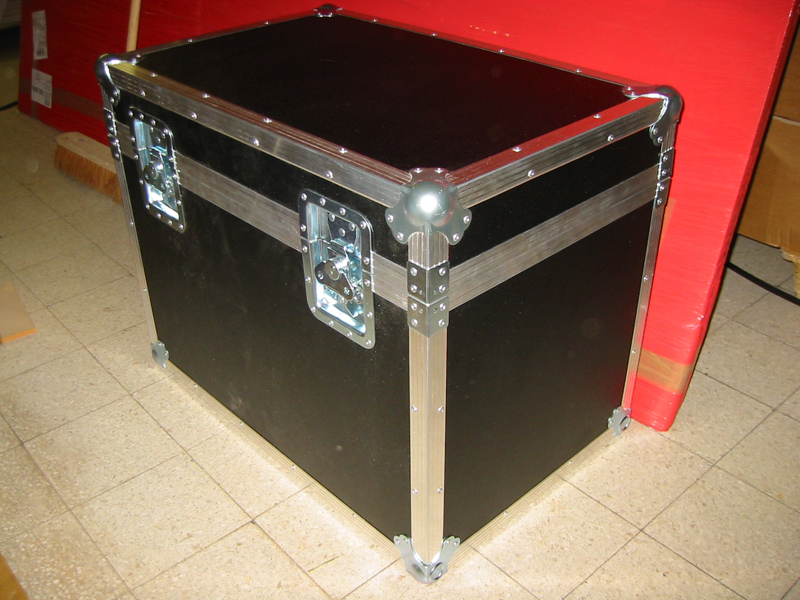
Now do the same for the other part of the butterfly latch on the other part of your flight case. Once you’ve fixed both sides of one butterfly latch, you can put the two halves of your flight case together to test. Then turn the lid of your flight case and put in another half of a butterfly latch (= third half = first half of second butterfly latch) and make sure it fits on the first half of the first butterfly latch you’ve just put in. By turning the lid you’ll make sure it will fit in two directions. Because it would be seriously annoying if the lid were to fit only in one direction, wouldn’t it? This is only going to be useful, of course, if you’re working with a completely removable lid. If you’re building a flight case with hinges and an attached lid, you won’t be faced with this problem. The picture here on the side shows the case with the butterfly latches.
If you’re building a flight case with one or more hinges and lid stays, now is the right moment to put these on. The principle is the same: don’t drill all the way through to the inside of the lid location and fix with short rivets; for the rest drill all the way through and fix with long rivets.
It may be useful at this stage to have something to push the two halves of your case firmly together, like two lashing straps.
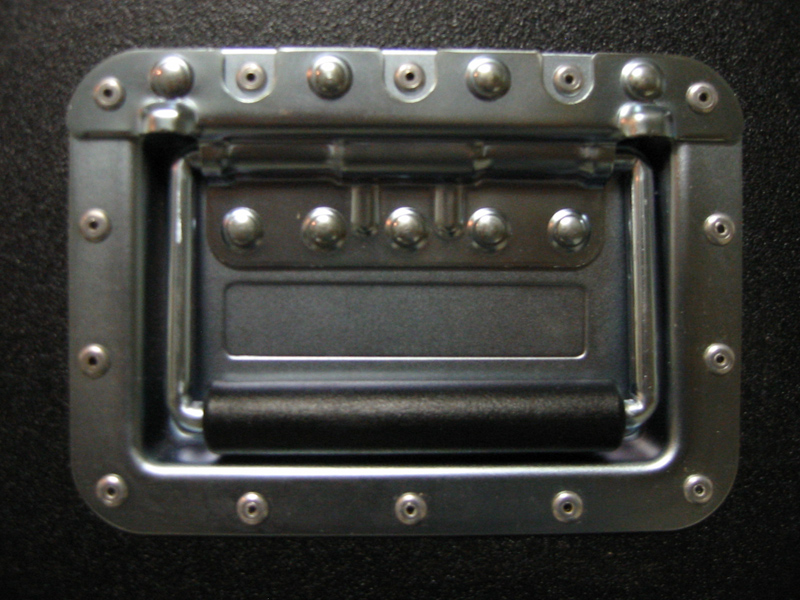
Now we’ve only got the handles left to deal with. Here too, it’s all about the measuring. Masking tape will come in handy again, because using a pencil on your flight case’s surface that’s a bit uneven is not very easy. Just drill a little hole for the fretsaw. If you’ve still got your 4.2mm aluminium-wood drill bit on your drill, you can just use that. If one hole isn’t big enough to get your blade through, just drill another one. Saw an entire hole of the right size. Of course the corners can be slightly rounded. Maybe also get a brief hold of your file to round off the edges a bit, so the handle fits nicely. Fix with rivets.
To the next step => Step 6: wheels