Step-by-Step Assembly Instructions - Building an easy case

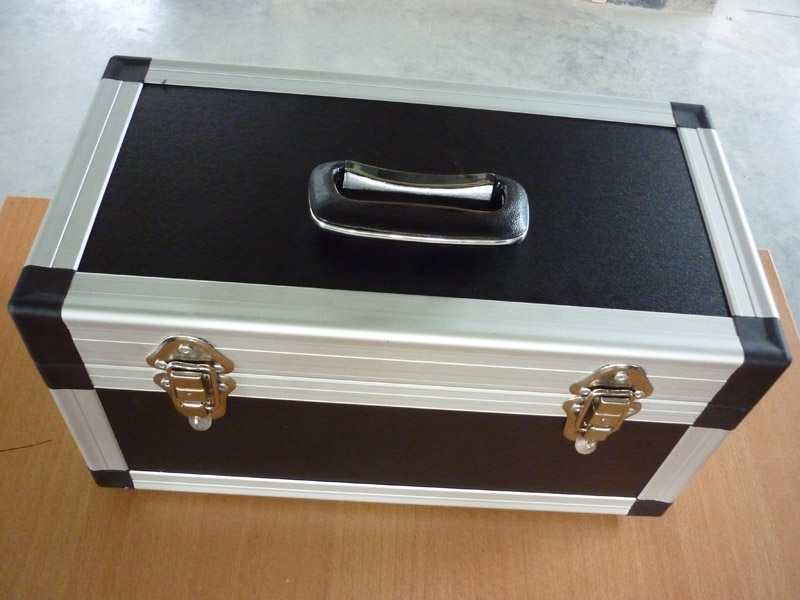
The advantages of easy cases will be instantly clear. Just to name 1 of them: building an average flight case (including measuring, sawing the panels and extrusions, putting the rivets in, putting the lining on, etc.) can easily take an entire day. This easy case took me exactly 2 hours to make. Even I was astonished at how easy it was.
I started by sawing the wood. Well, wood. For the case in the pictures I actually worked with plastic of 7 mm thick. The material is very light, because it’s made with the sandwich principle. Although... I can’t deny having the impression that wood is stronger. After this first project, I therefore decided to use real flight case wood for easy cases. So from now on you’ll find black flight case wood of 7 mm in the web shop at flightcase-brico.com.
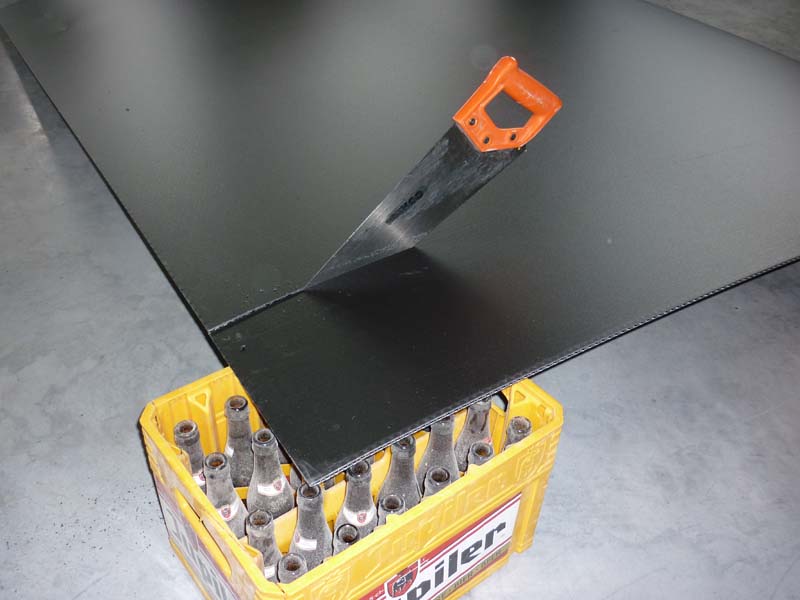
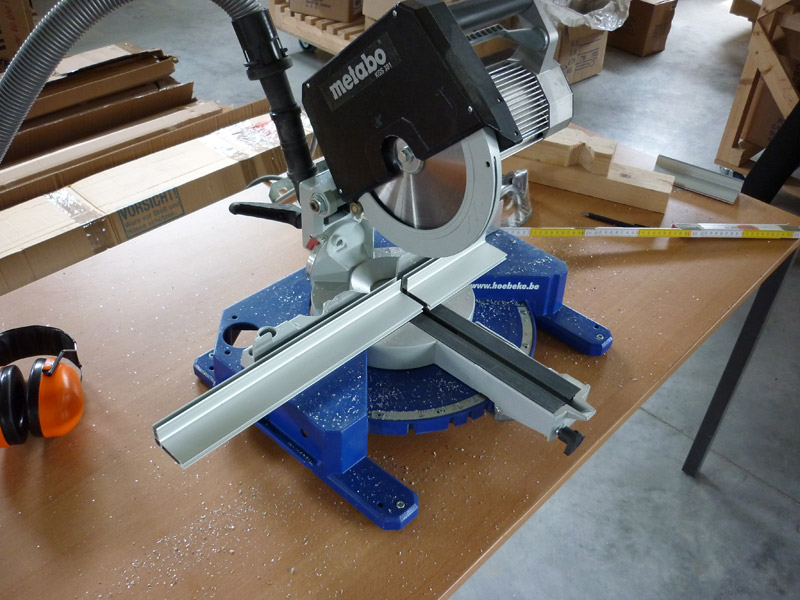
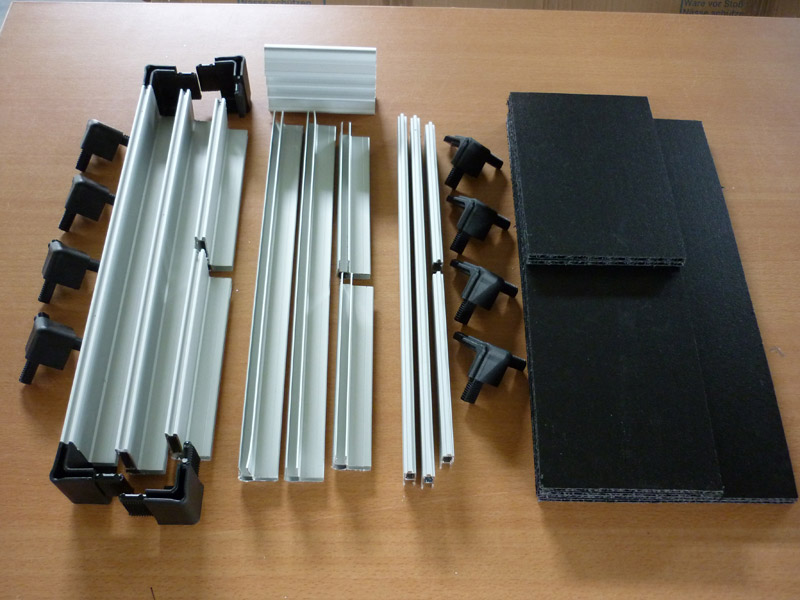
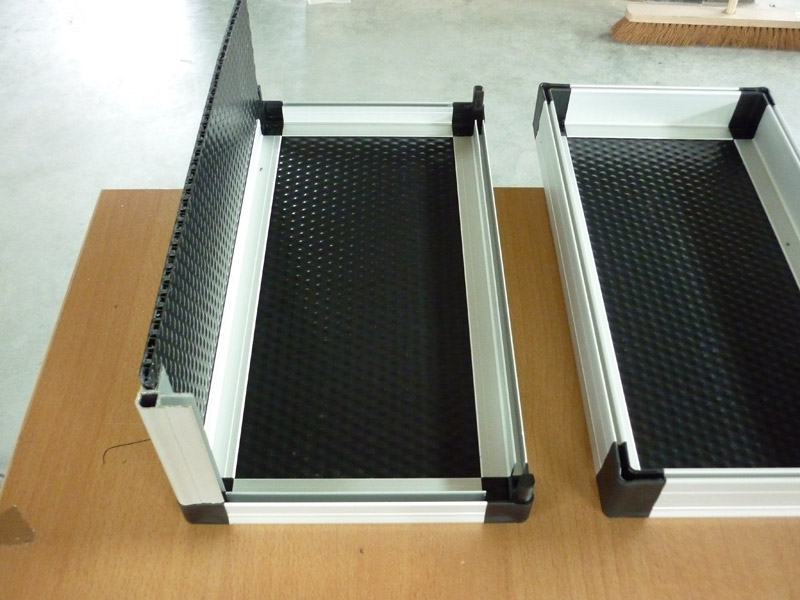
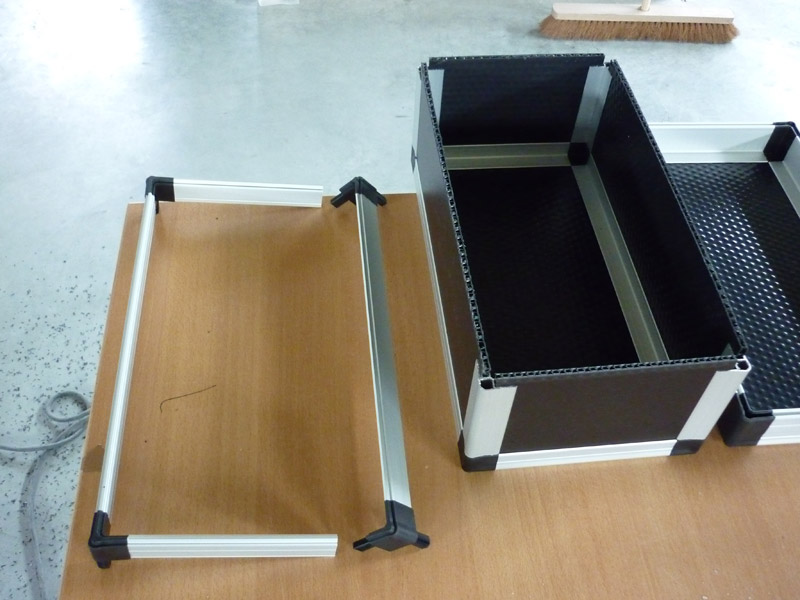
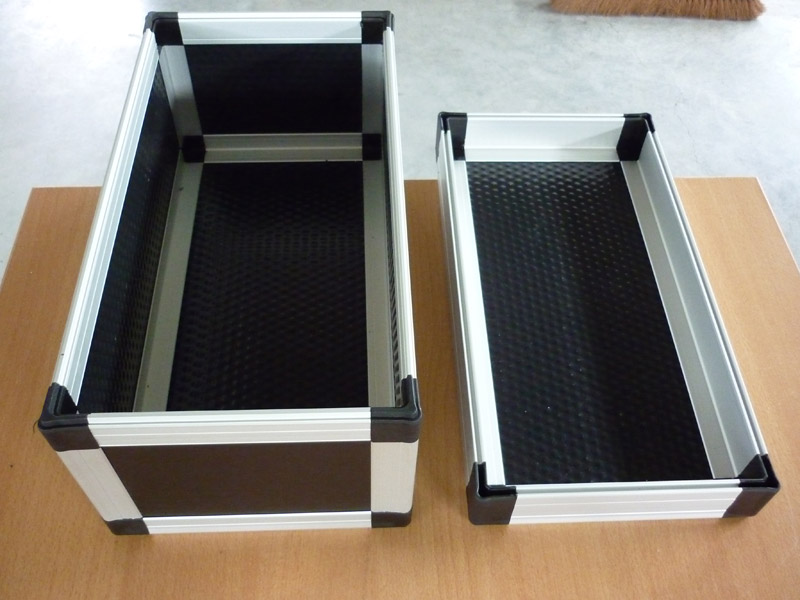
Sawing was quick. I only needed six pieces: top, bottom and 4 sides. For the rest I used my mitre saw (or chop saw) to slant the aluminium extrusions, added 12 black plastic corners and here’s all I needed:
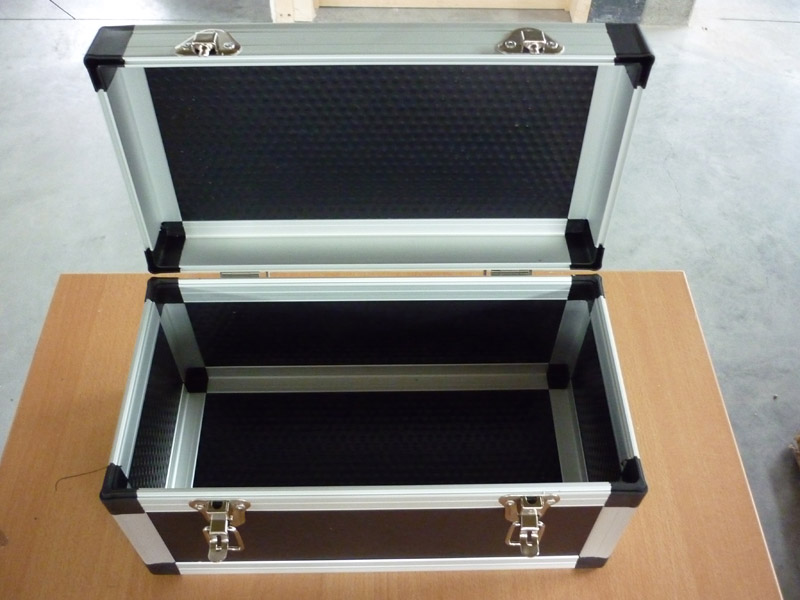
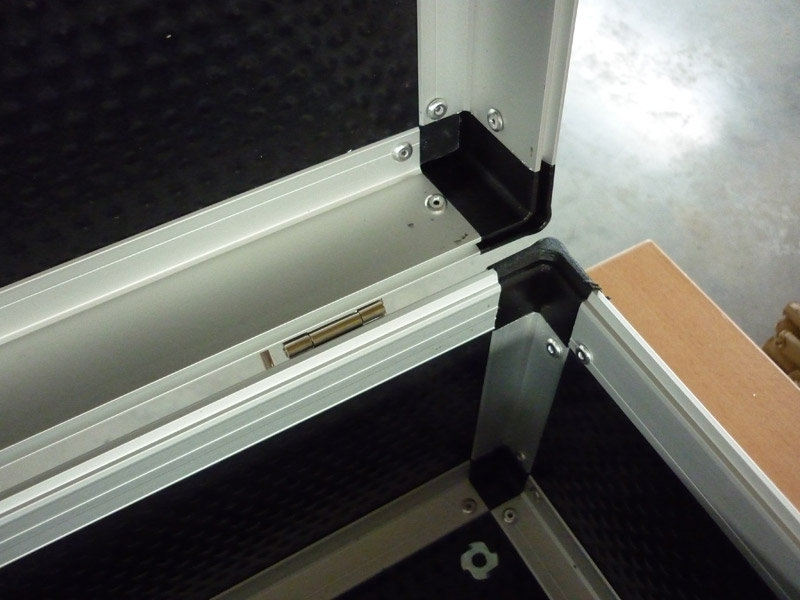
Less than an hour later the main work was done. It was just a matter of putting everything together and that was the lot. I don’t really know what else to explain. It’s really not more complicated than this. So I’ll let the pictures speak for themselves.
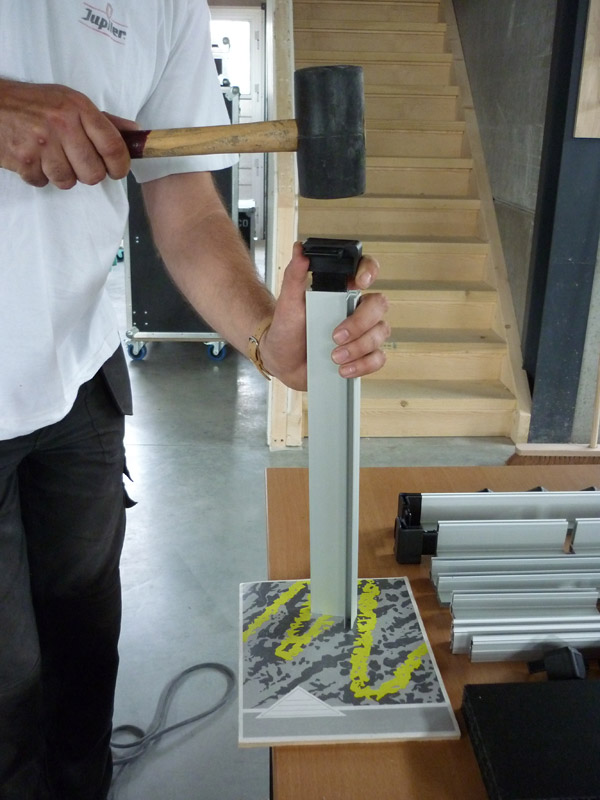

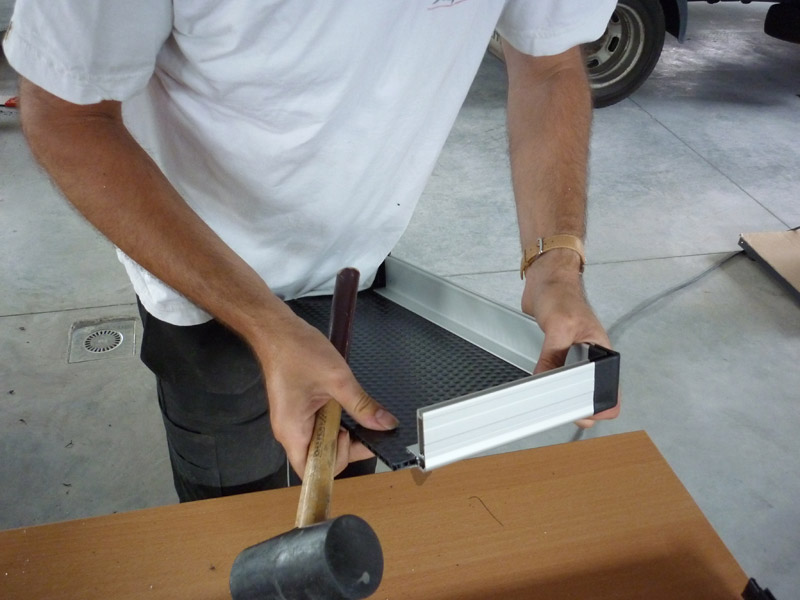


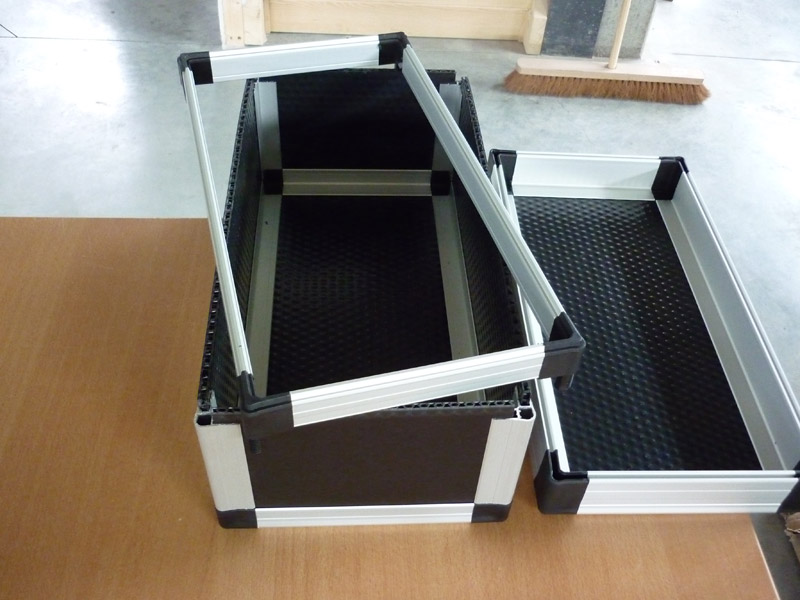

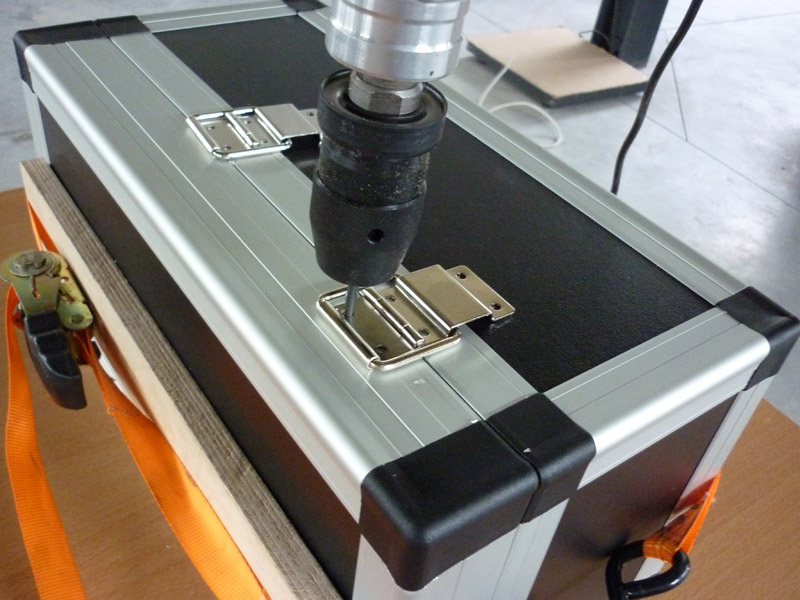
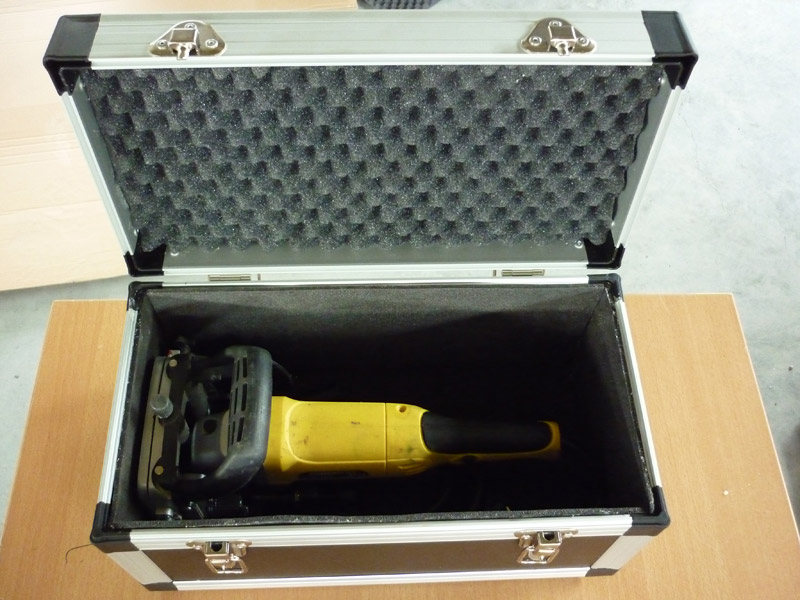
(Or maybe I can add something anyway: you really do need to use some glue still to keep everything together. I didn’t do it in this example [because it was Sunday, all the shops were closed and I had no glue]. To make the whole thing a bit stronger I put a few rivets into the inside of the case [see the pictures below], but these aren’t really necessary if you’re just using glue as you should, unless you’re a real DIYer and you prefer making everything a little bit sturdier than necessary...)
>>> Order your easy case parts now <<<
Any questions? Don't hesitate to contact us!