Actually there’s enough information in the general step-by-step instructions to build cases for all kinds for purposes, as the basic principles for building them with the box method are always the same. But I found it interesting to do a project where I build a flight case for a keyboard (actually it’s an electric piano in this case, but that doesn’t really matter). After all keyboards need a few extra precautions, because the keys and other buttons on them are extra vulnerable.
Hence why I decided to write out this project in another set of step-by-step instructions. Don’t read them ‘by themselves’, though, as I’m not going to repeat all the basic flight case building principles. So before you start reading this article, it might be best to read through the general step-by-step instructions first. In this one I’m only going to go into more detail about the things that particularly matter to cases for electric pianos, keyboards or synthesizers.
Étape n°1 : conception et calculs
Étape n°2 : la caisse en bois
Étape n°3 : profilés de fermeture
Étape n°4 : profilés de coin, renforts d'angle et coins
Étape n°5 : fermetures papillon, charnières et poignées
Étape n°6 : roulettes
Étape n°7 : finition intérieure
Step 1: design and calculations
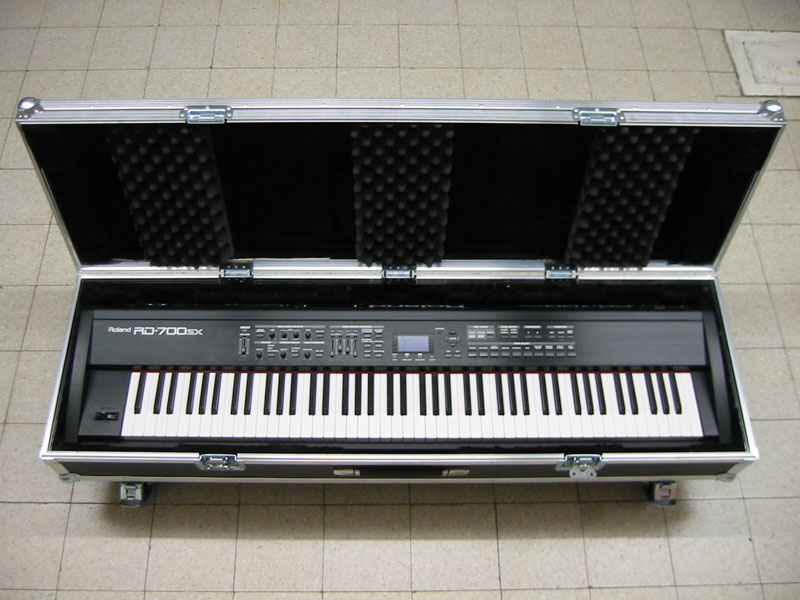
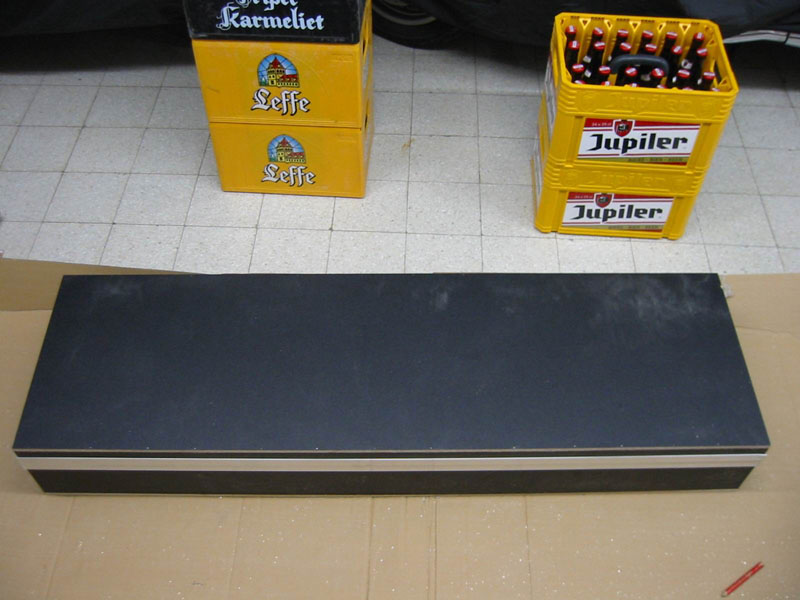
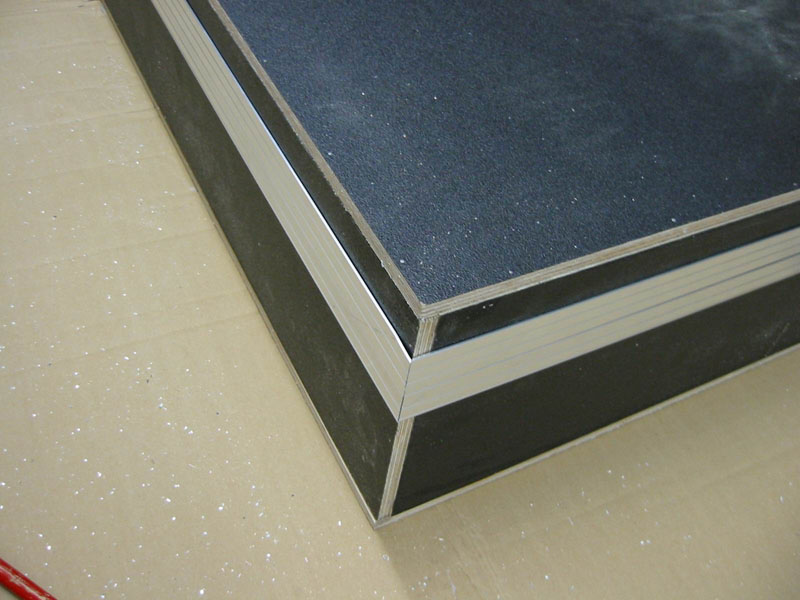
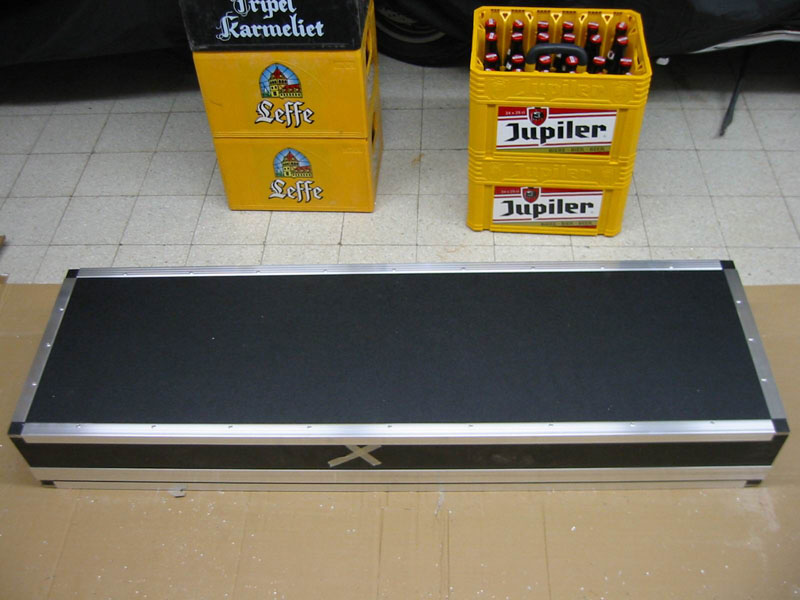
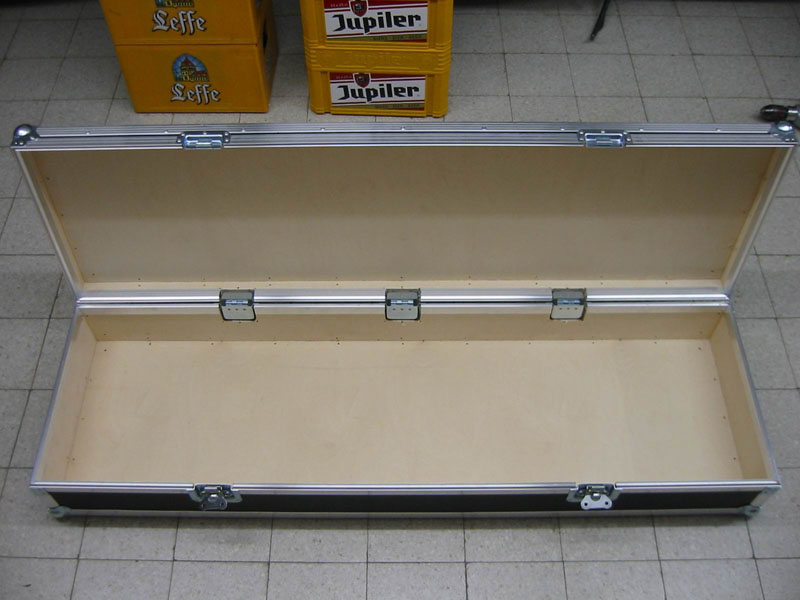
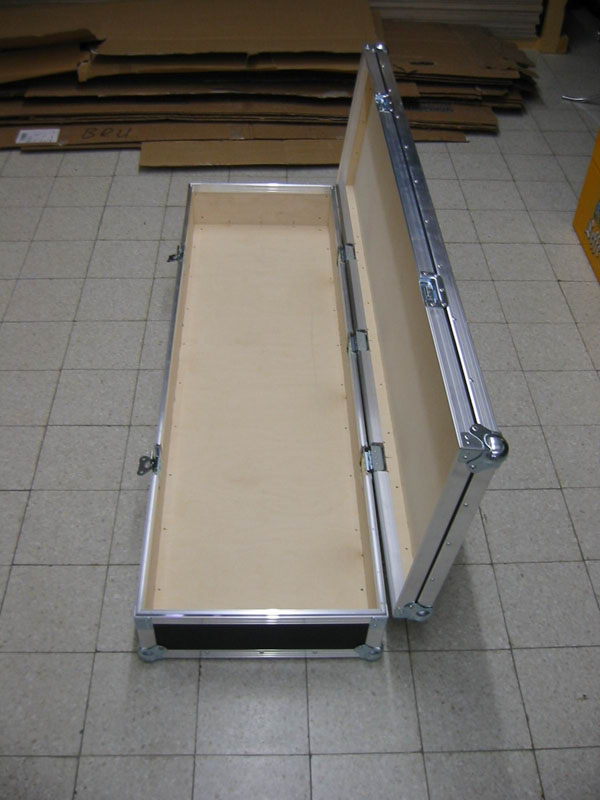
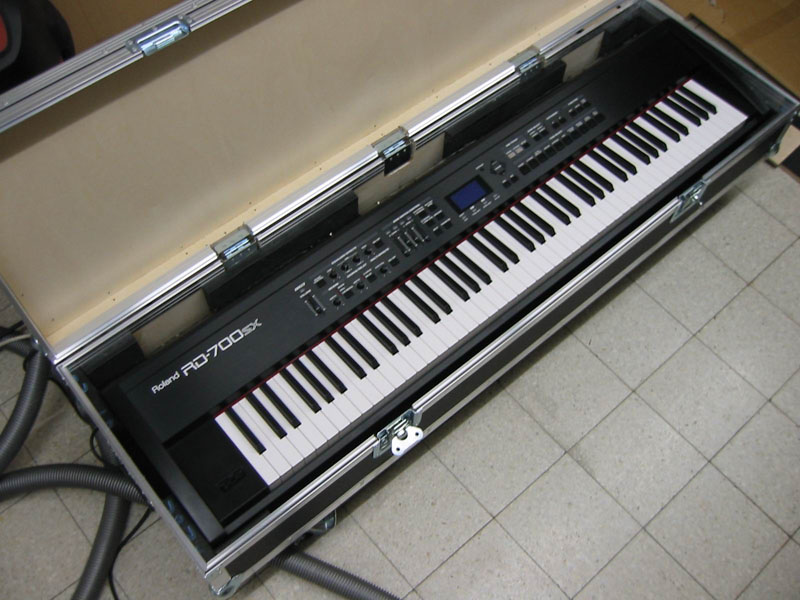
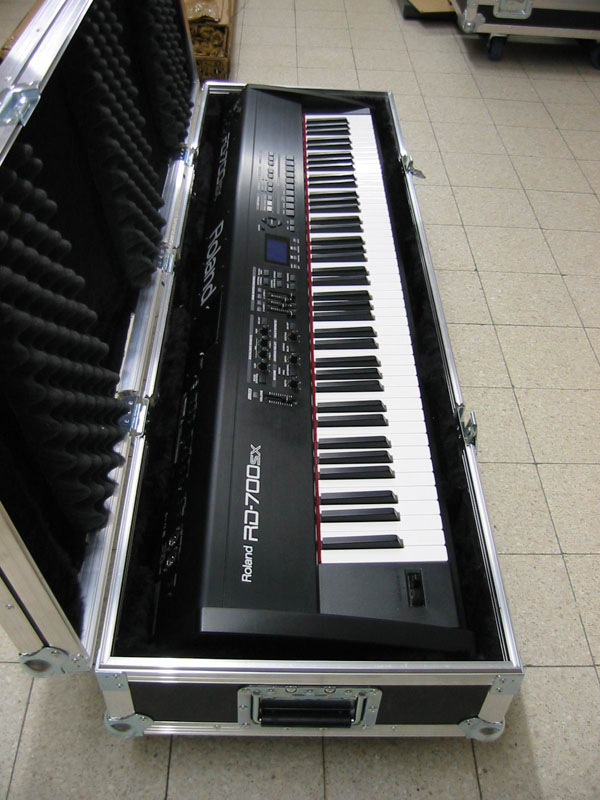
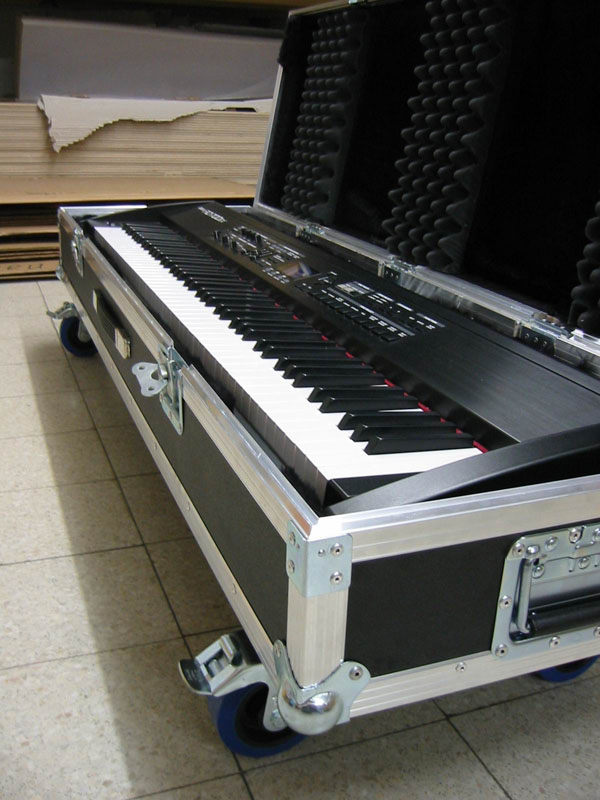
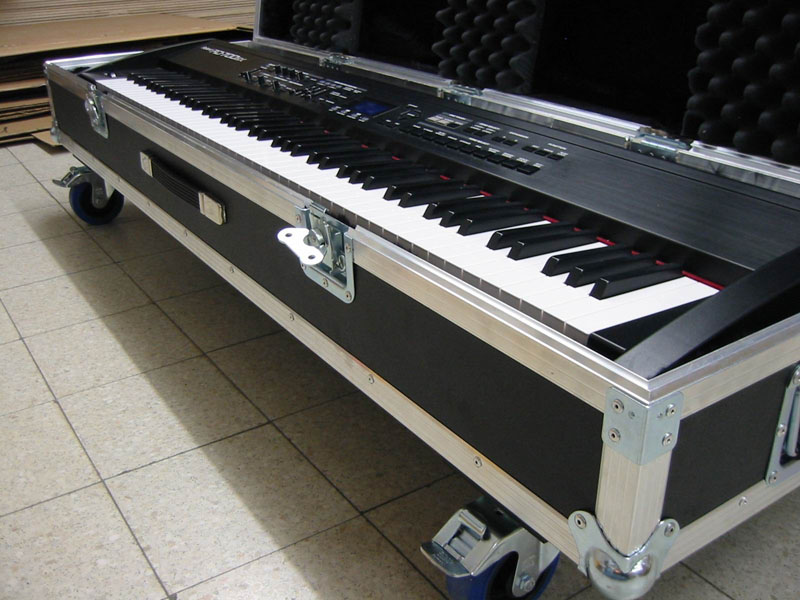
Here you can see a photo of the end result. So you can already imagine what I’m after exactly.
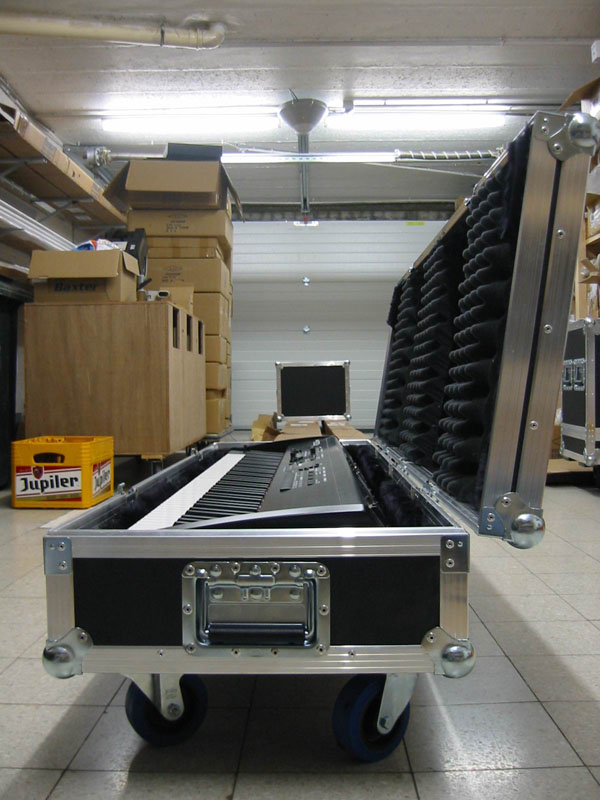
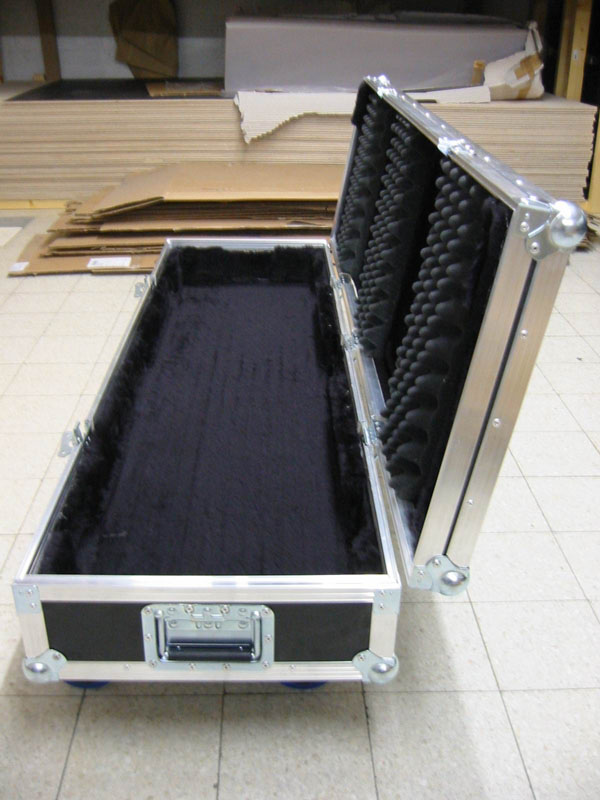
First an important side note: I didn’t make this case for myself, but for a client, so it was he who chose the design. It’s namely a case with a narrow lid and deep bottom (the keyboard fits into it). Other people will often opt for exactly the opposite in a keyboard flight case: a very low bottom and a very tall, detachable lid, as that kind of design allows the keyboard to stay on the bottom of the case all the time. So you can just put the keyboard ‘in’ the case on top of its stand and play like that. But this client explicitly asked not to do this. He wanted to take the piano out of the flight case every single time. So we chose to design the case this way.
It’s also very exceptional for a keyboard flight case to have four large wheels on the bottom. These cases more often have recessed corner castors. But this too was one of the client’s explicit wishes.
As always, I start by writing down the dimensions of the piano the flight case is for. While doing this, I need to take into account all buttons or feet that stick out. The dimensions of the Roland piano I’m making the case for are: 141.5 x 37.5 x 13.0 cm. So it’s 13 cm high, including any buttons that stick out, but excluding the four feet on the bottom. These are about 1.5 cm high, but as I’m going to work with 2cm hard foam, they’ll sink into that anyway. Don’t get me wrong: hard foam is really quite hard, so it can stand relatively high loads across large surfaces, but as the four feet are so small, they’ll sink into that foam over time (the whole weight of the keyboard is supported in these four spots by the feet, as it were, so they’ll sink into it eventually).
I’m going to line the case with hard foam of 2 cm thick on the bottom and the sides, and I’m going to put soft eggbox foam of 5 cm thick on the top. For the rest I’m also going to finish the case with soft, black luxury lining to make it look very professional. So, the inside measurements of the case I’m going to be building, are:
- width 146 cm (= 141.5 cm + 2 x 2 cm hard foam + 0.5 cm for lining and extra room)
- depth 42 cm (= 37.5 cm + 2 x 2 cm hard foam + 0.5 cm for lining and extra room)
- height 19 cm (= 13 cm + 2 cm hard foam at the bottom + eggbox foam at the top)
It’s easy to calculate the outside measurements of the wooden box I’m going to make, as I only need to add 2 x 1 cm to the inside measurements to account for the thickness of the wood. So the outside measurements will be:
- width 148 cm
- depth 44 cm
- height 21 cm
I’m going to work along the closed box method again. This means I’m firstly going to put together a closed wooden box and cut it open to get a bottom and a lid. That way I can be certain that the lid will fit properly. Once I’ve sawn my box in two, I put on the lid locations. These will make the wooden box instantly about 1 cm higher (because the lid locations come in between the bottom and the lid). So it’s best to deduct that centimetre now. Therefore the outside measurements of my wooden box need to be:
- width 148 cm
- depth 44 cm
- height 20 cm
This means I’ll be sawing the panels below (sawing list):
- 2 panels of 148 x 18 cm
- 2 panels of 148 x 44 cm
- 2 panels of 42 x 18 cm
(Just as an aside and to be totally clear: the following list would NOT be right:
- 2 panels of 148 x 20 cm
- 2 panels of 148 x 44 cm
- 2 panels of 44 x 20 cm
As a general rule there are always 3 possible sawing lists for your wooden box. The one above is number one and here are the other two:
- 2 panels of 146 x 18 cm
- 2 panels of 146 x 44 cm
- 2 panels of 44 x 20 cm
or:
- 2 panels of 148 x 20 cm
- 2 panels of 146 x 42 cm
- 2 panels of 42 x 20 cm
)
Step 2: wooden box
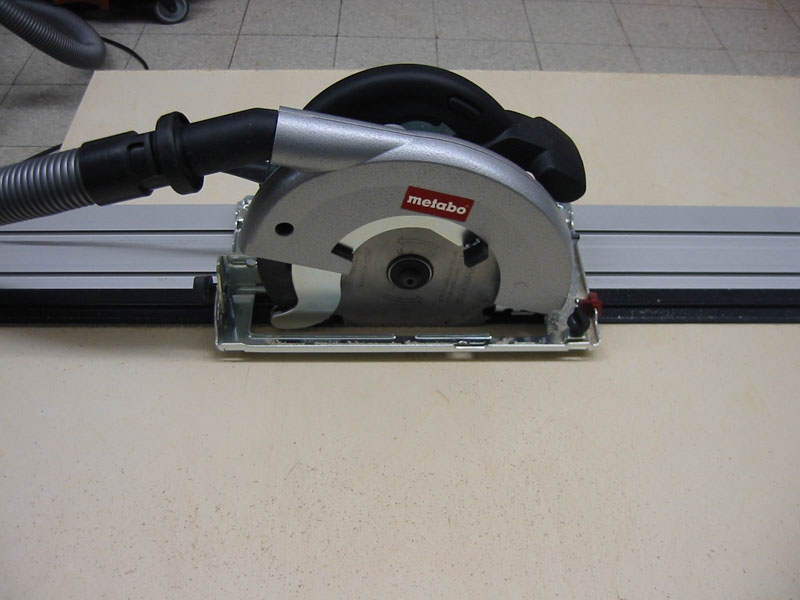
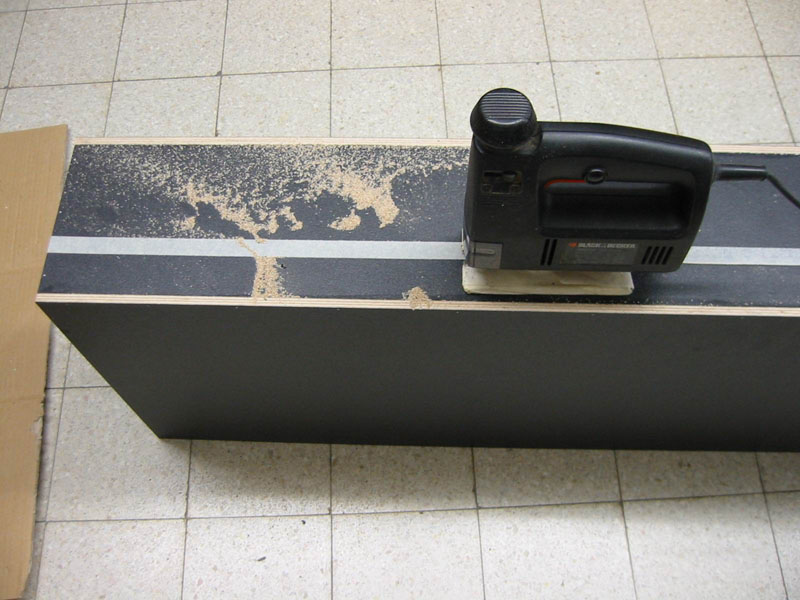
You can saw the panels with a normal hand saw. For tips on this, please see our article « Tips for sawing wood ». I’ve now bought myself a Metabo circular saw with guides. It’s enough to put these right next to the pencilled line on the wood and saw like that. This’ll make the sawing a bit quicker than doing it by hand, but just to be clear: it won’t make your flight case any better. The most important thing when it comes to sawing still is pencilling the measurements very carefully onto the wood and definitely making sure every one of your panels has perfect right angles. So a steel square is indispensable, whether you’re sawing manually or using a circular saw.
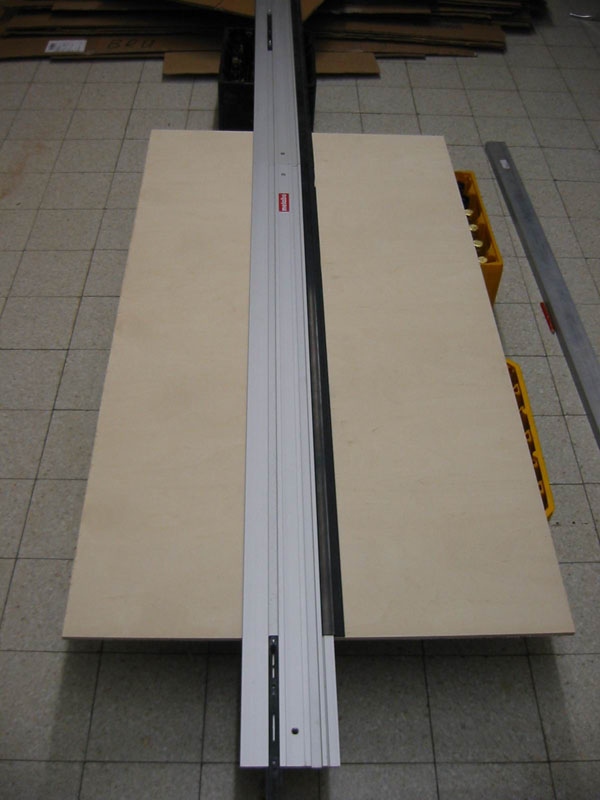
I started with a big flightcase panel of 250 cm x 125 cm for the 6 pieces I needed. First I cut the 148 x 125 cm panels and then from the rest of it the 148 x 44 cm and 148 x 18 cm ones. I used a few pieces of wood I still had lying around from other projects to make the other 2 panels of 42 x 18 cm.
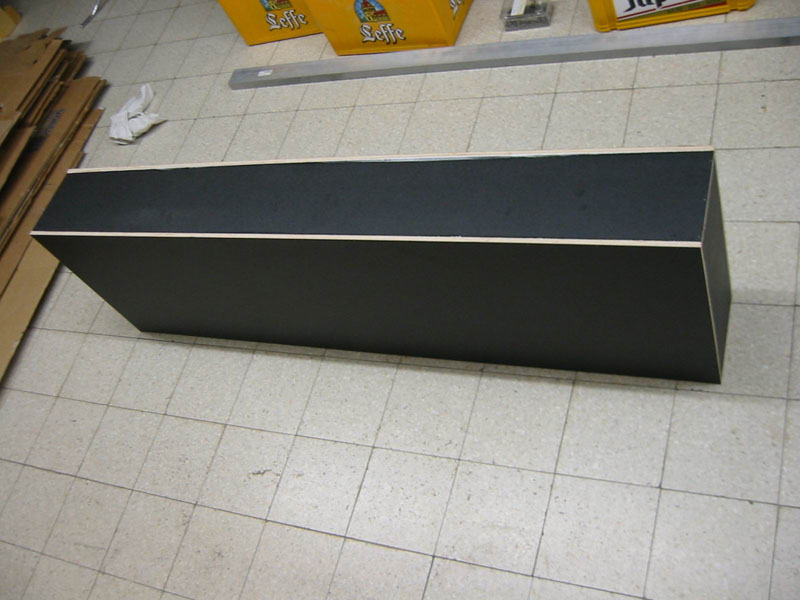
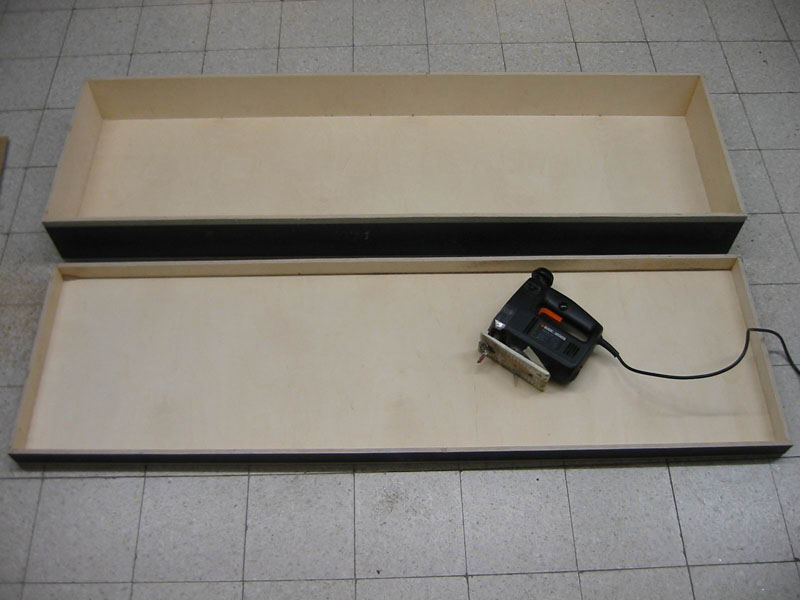
After that, put the panels together with glue (good carpenter’s glue) and nails (2 cm long without head, for instance), and you’ve got your closed wooden box already. Then saw the box in two with a fretsaw and you’ve got the two parts of your flight case. I made the lid of my case (measured on the outside) 5.5 cm high. This is about the narrowest you can make, because there should still be enough room to fit the case angles and lid locations.
Step 3: lid locations
Now the box is open, I can put on the lid locations. These always need to be mitred and are never fixed with rivets, but with the corner braces at a later stage. Corner braces are fixed over the spot where the case angles and lid locations ‘touch’ and are used to fix the lid locations in place. I’m going to fix the case angles first and the corner braces after.
Step 4: case angles, corner braces and ball corners
To rivet the case angles, it’s best not to drill and fix all the rivets yet. I’m still going to put on the butterfly latches and the hinges with lid stays and as the lid on this case is very narrow, the upper half of the medium recessed butterfly latch and hinges with lid stay will partially end up overlapping with the case angles. This in itself is not a problem, that’s what working with narrow lids is like, but you do have to take it into account now, because when you’re distributing the rivets over the whole length of the case angles, you shouldn’t put any rivets there, otherwise they might be in the way later.


Oh, yes, on a side note: you’re probably wondering why I’m making the lid as narrow as possible. Well, that’s because experience has taught me that a lid attached with hinges with lid stay should be as light as possible. If the lid is too heavy, it tends to tip your flight case over once you’ve opened it and taken out the keyboard.
Now I’ve put the lid locations on, it’s time to fix the large corner braces and the ball corners. The photo here on the [left] shows how you can work with a narrow lid and still fit large corner braces at the same time; namely by overlapping the ball corners and the corner braces. In this case, the corner braces are fixed onto the lid with only 2 rivets instead of 4. To fix the ball corners, I used 4.8 x 15 mm rivets, because those are always a bit stronger than the normal ones of 4.0 x 12.5 mm.
Step 5: butterfly latches, hinges and handles
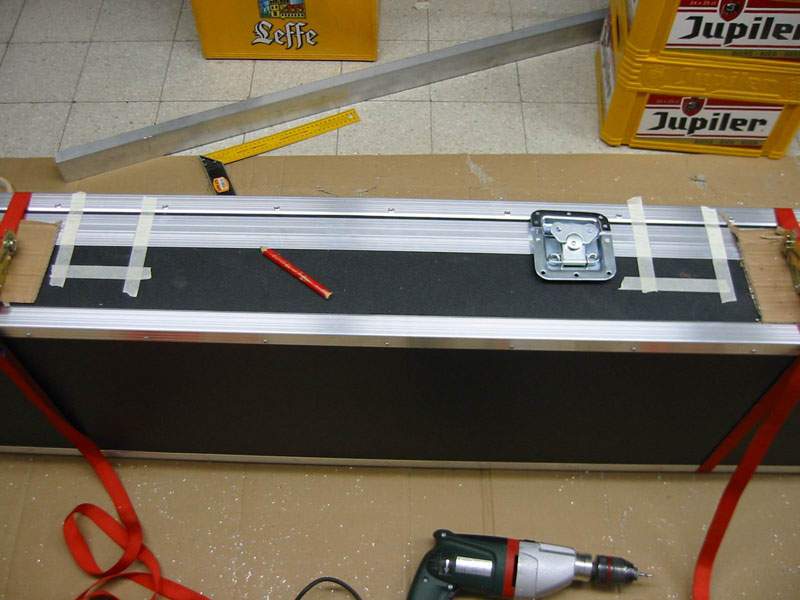
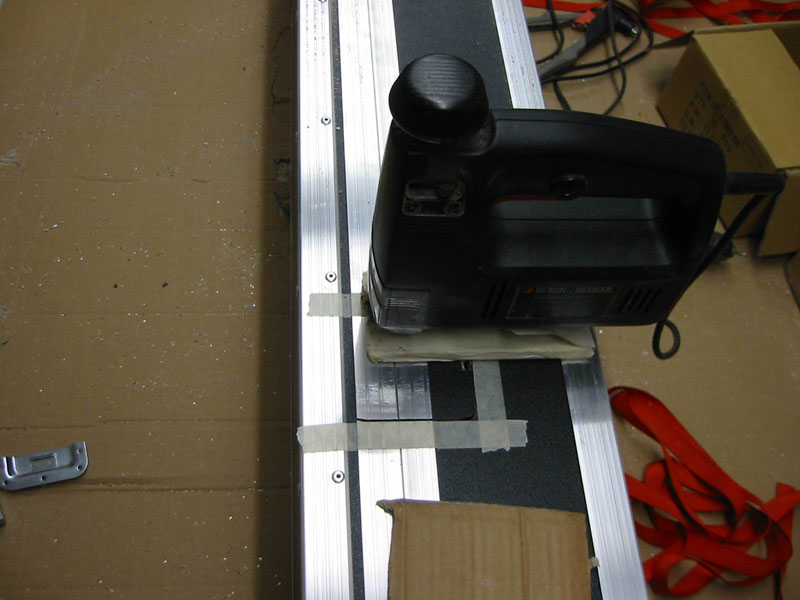
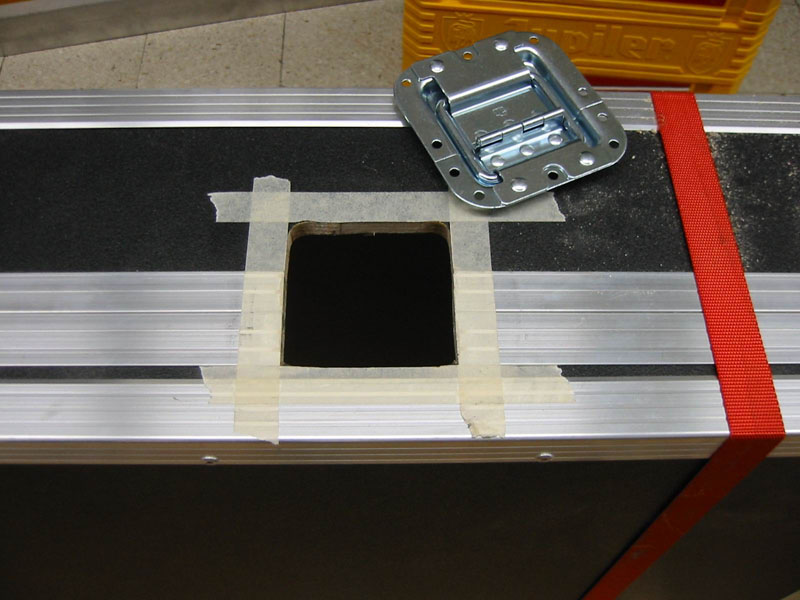
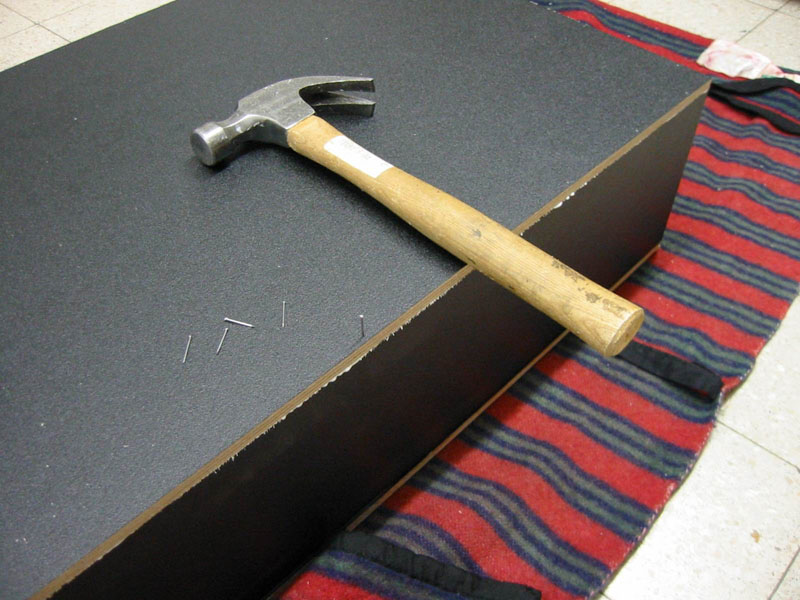
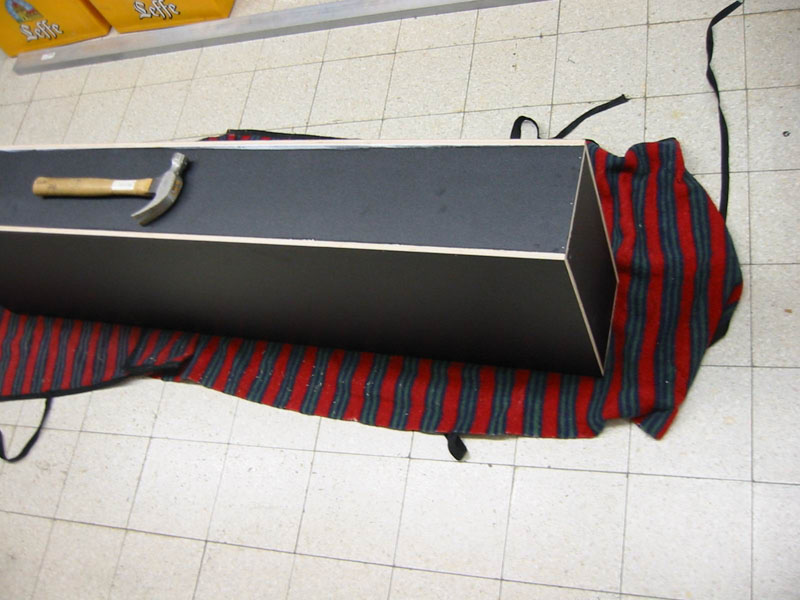
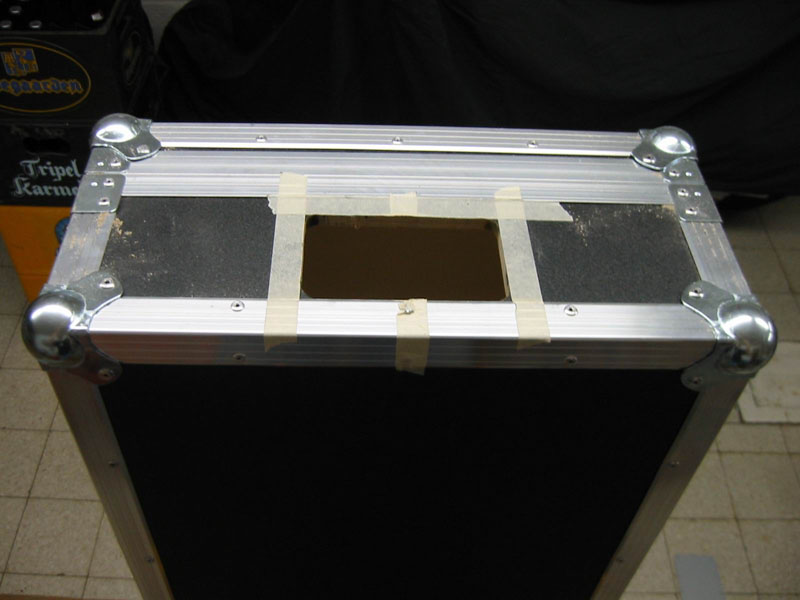
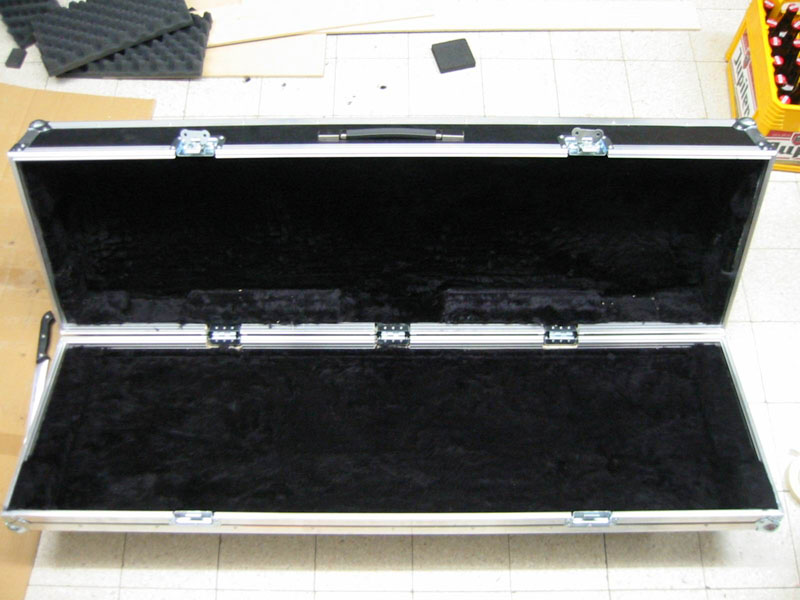
I also put on my 2 medium recessed butterfly latches and 3 recessed hinges with lid stay. I use my fretsaw again to make the holes for the recessed hinges and butterfly latches. I’ve always got a blade on it for metal, so I can use it to saw through aluminium and wood at the same time. Before I start sawing, though, I always find it useful to tie the two parts of my flight case together with two lashing straps (you can see my red ones in the photo).
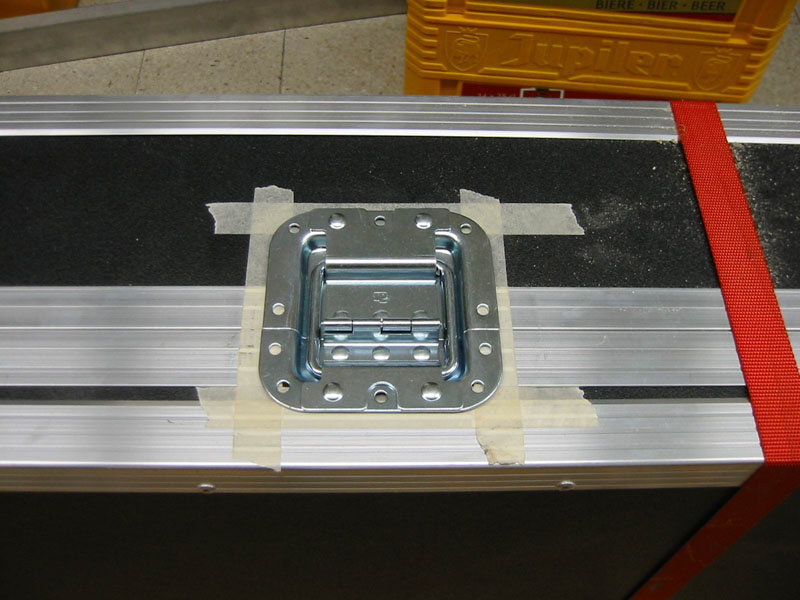
The measurements for the hole I need to saw to fit the recessed hinges with lid stay are the same ones as those for a medium butterfly latch. Fixing them is also as easy, as you can see in the photos. To fix the butterfly latches and hinges, I’m using normal rivets of 4.0 x 12.5 mm, except for those in the lid locations, which will be 4.0 x 9.5 mm, because I’ll be drilling the holes through the outside of the lid locations, but not through the inside.

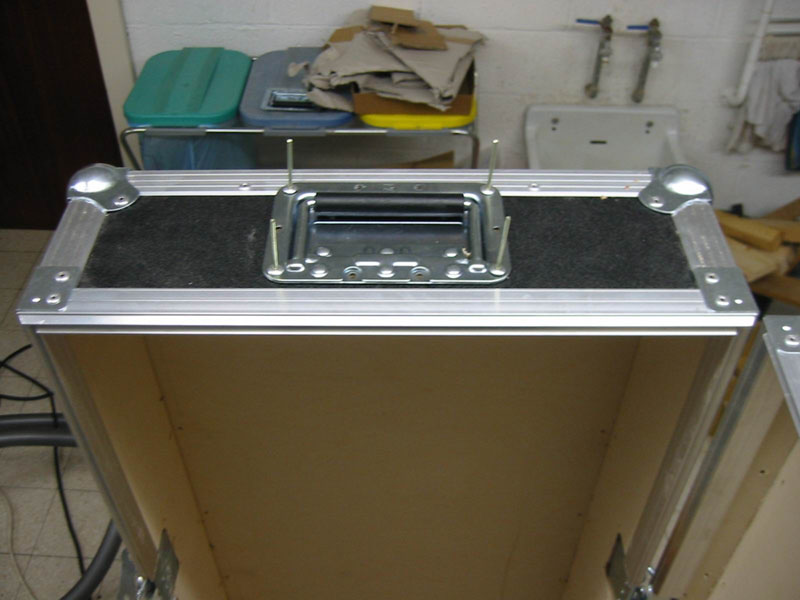
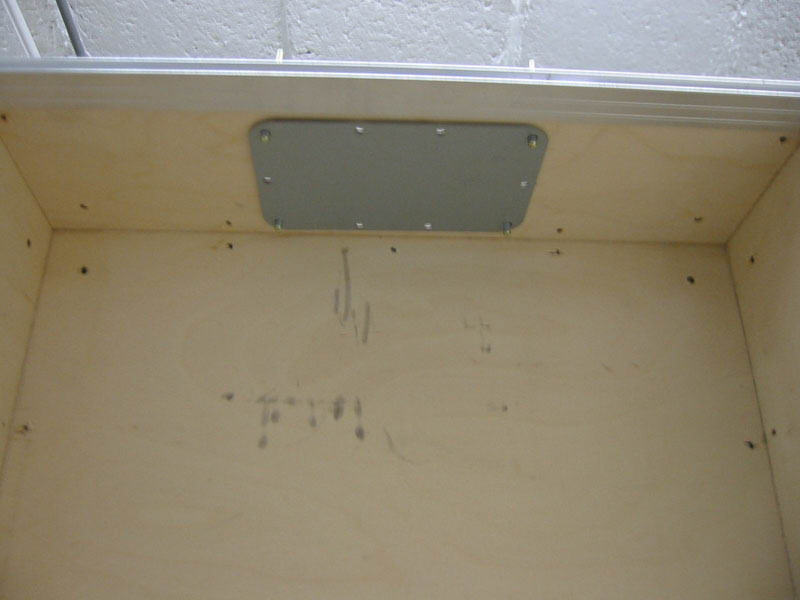
For the rest, I’m also going to fit the flight case with a medium recessed handle on both short sides. Because the case will be quite heavy once my client has put his keyboard in it, I prefer to be safe and have chosen to fix the handles with extra long rivets of 4.8 x 19.5 mm, reinforcing them with back plates on the inside.
This kind of keyboard cases often have external-mount handles too. For more information on these, please see our article « Tips for external-mount handles ».
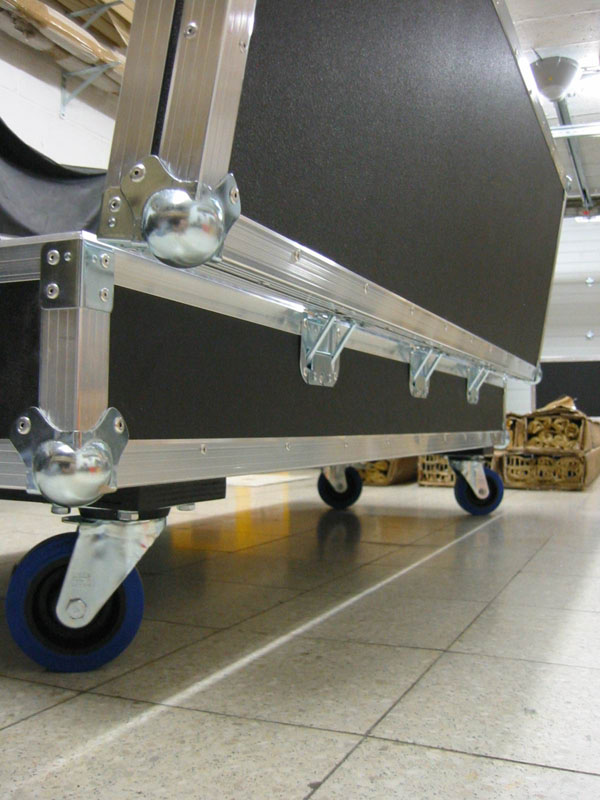
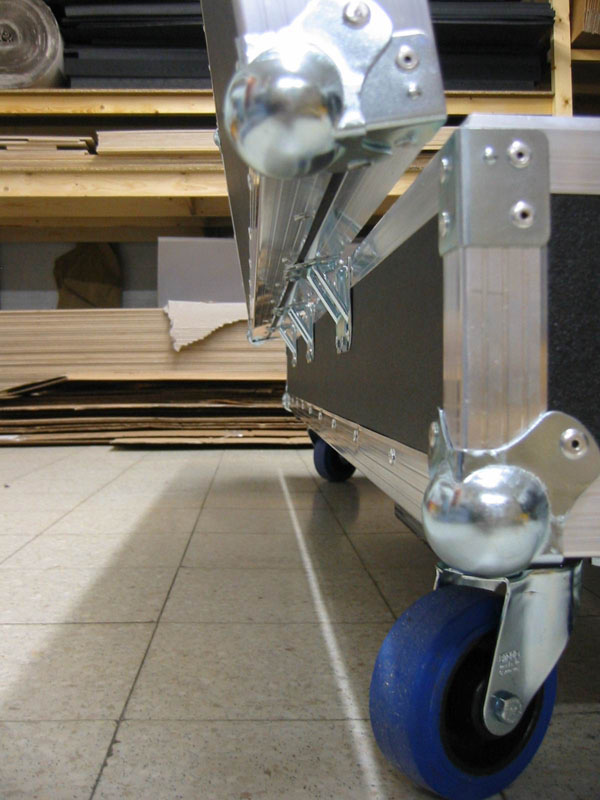
Step 6: wheels
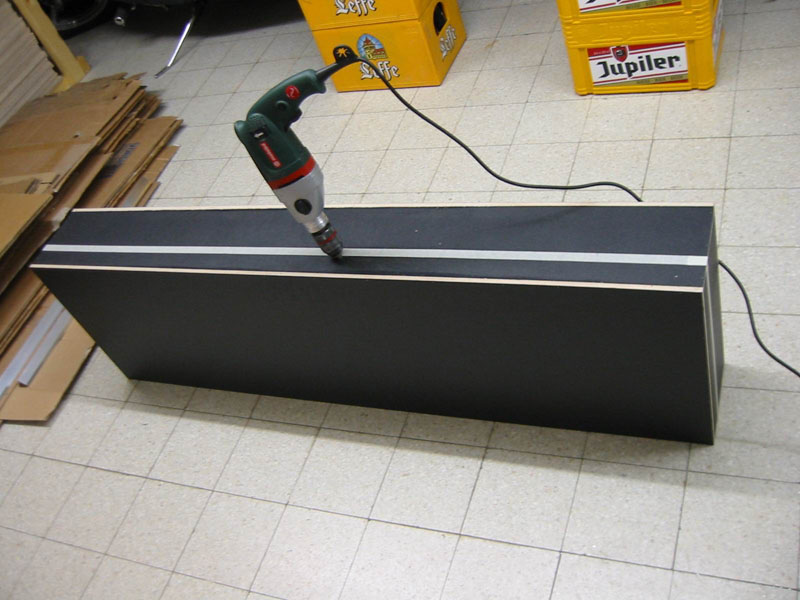
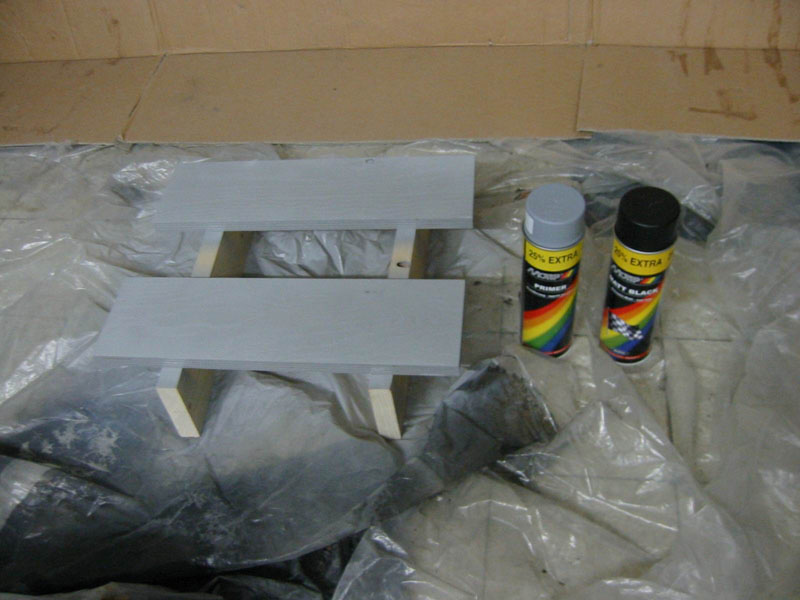
For this particular project, I also put large flight case castors on the bottom. To fix, I made two wheel panels, nicely sanded and painted. 2 coats of primer first and then 2 coats of satin black. For a more detailed explanation, please see our article « Tips for wheels on your case ».

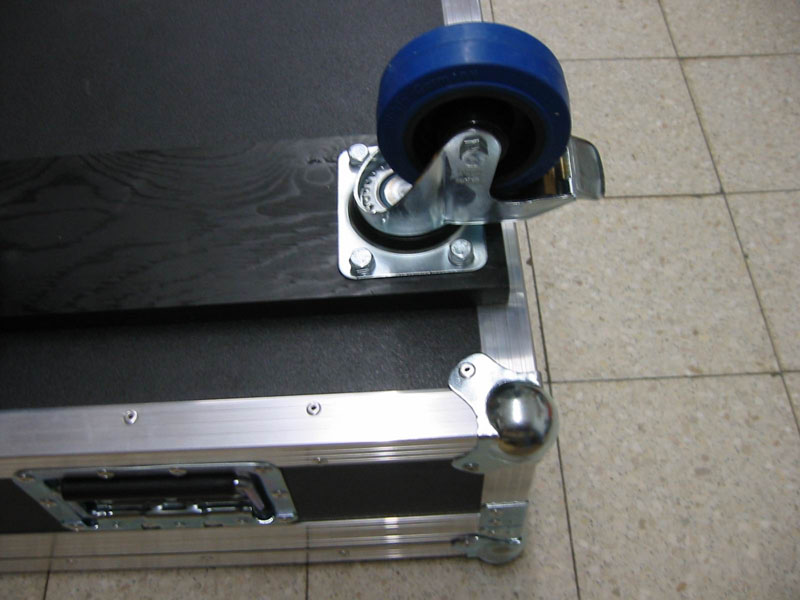
We don’t often see this kind of wheels on this type of flight case, but the client particularly requested it. This kind of flight case either doesn’t have any wheels at all, or has 2 or 4 recessed edge or corner castors on the bottom of the short side.
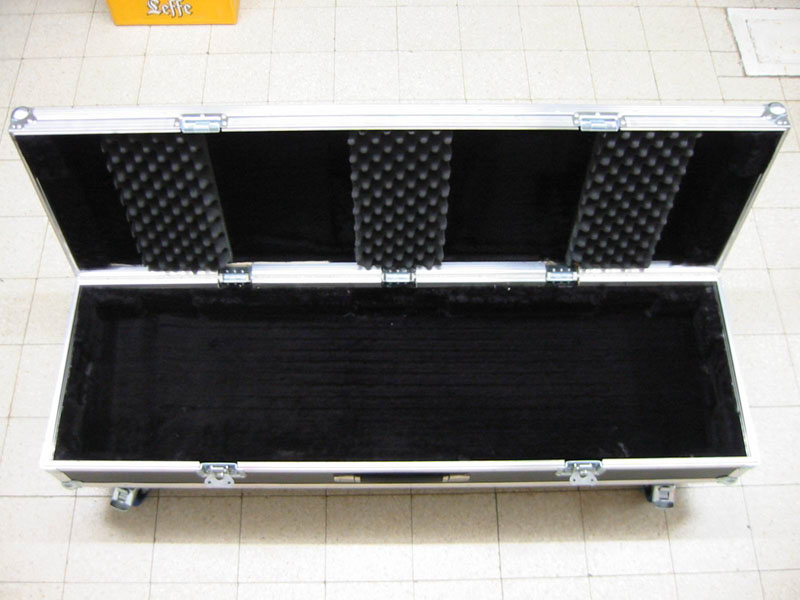
Step 7: inside finish
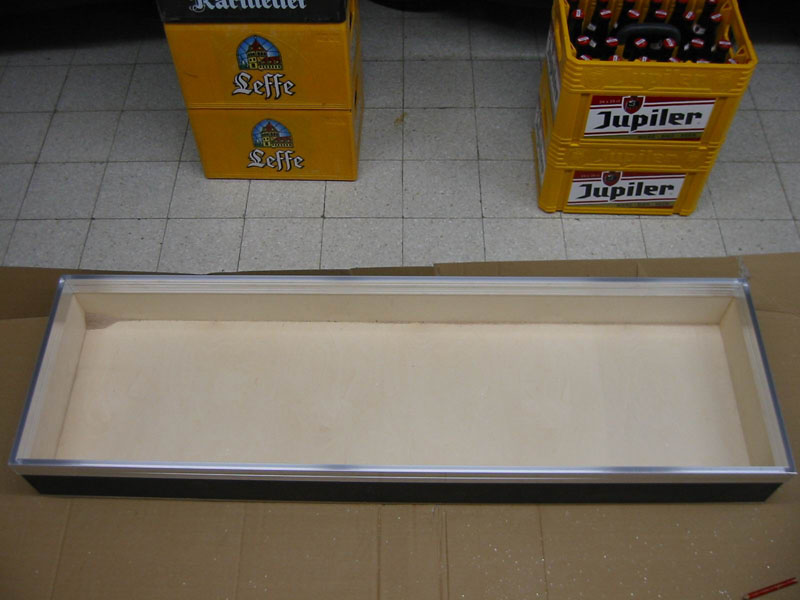
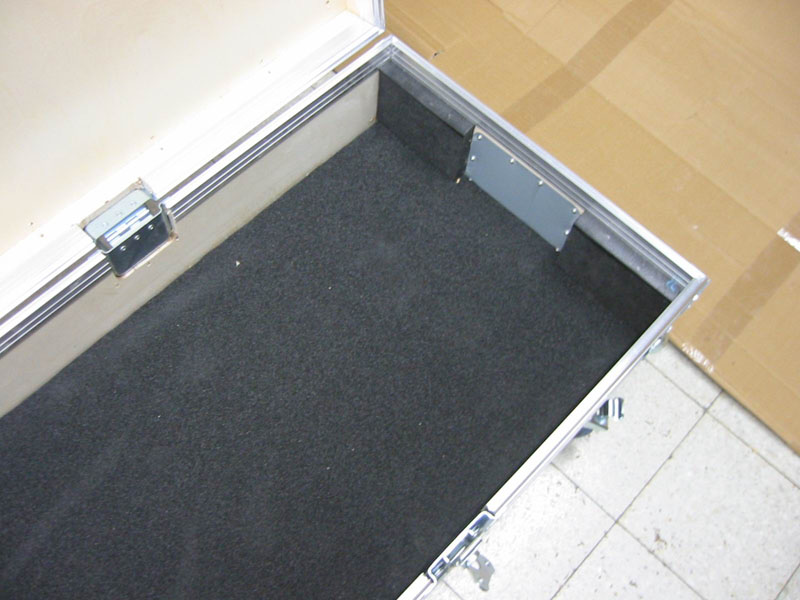
So now I can start lining the case. First up, I cut a piece of 2 cm hard foam of 146 x 42 cm and stick it on the bottom. Then I cut the smaller pieces for the corners and the sides. I’m not going to line the sides totally with the foam, because that would make lifting the piano out of the flight case too difficult in the end. The gaps I’m leaving between the strips of hard foam are there so my client can still stick his hand or fingers in to get the piano out of the case. Foam of 2 cm thick turned out to be just about right for this project. I could consider more (thicker) foam on the sides, for example by putting 2 pieces of 2 cm foam on top of each other, to make it even easier to take the piano out, but this of course would need me to change the design and measurements for my flight case.
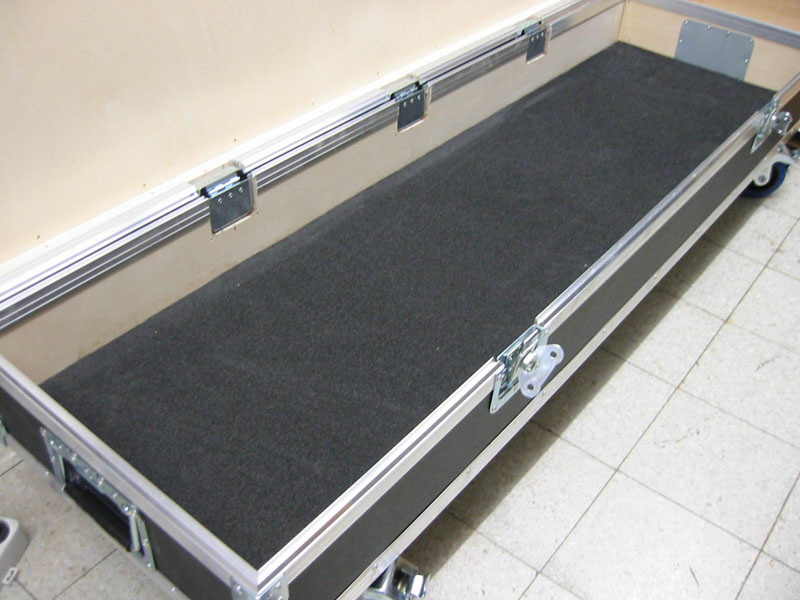
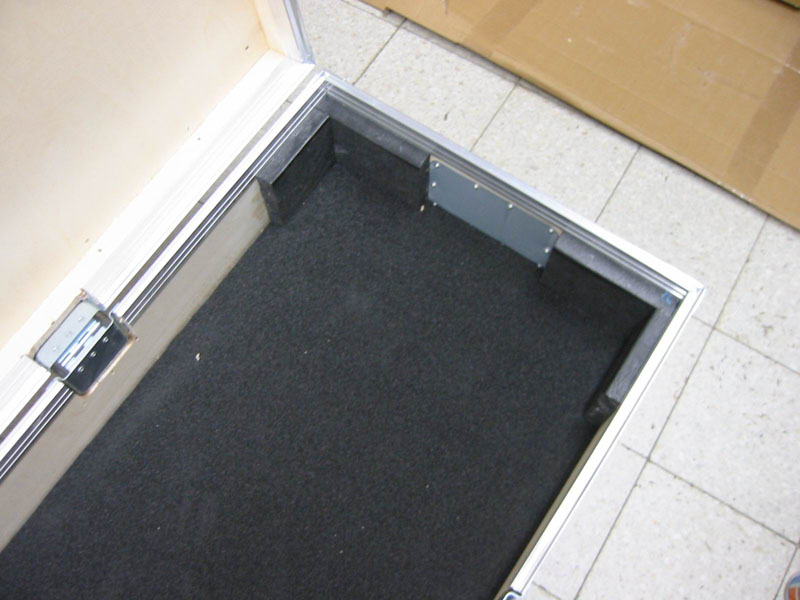
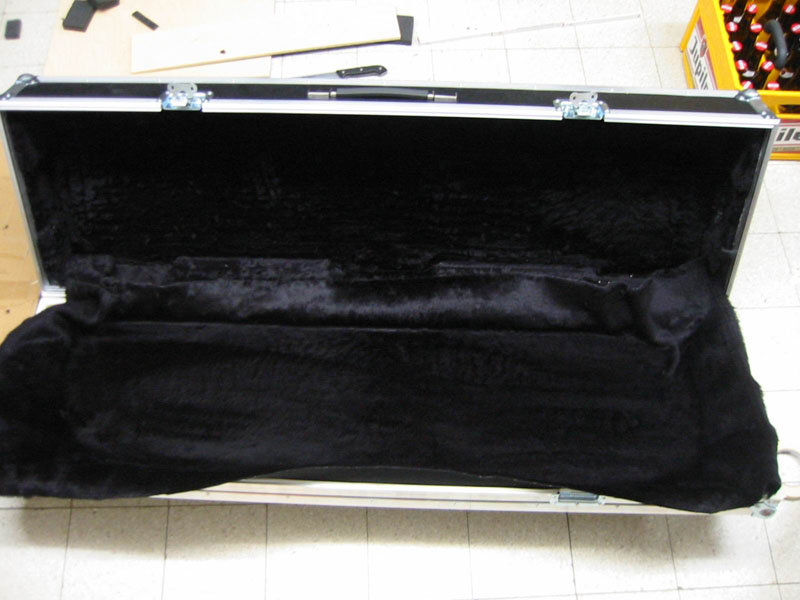
I line the top of the lid first with the black luxury fabric, as you can see here on the photo. Start with cutting a piece of fabric that’s more than big enough. Spray the glue in the middle of the lid (not on the edges yet - stay a few centimetres away from the edges even). Spray the back of the fabric with the glue as well, roughly in the middle. Now put the fabric on the case and use two hands to rub firmly outwards from the middle to the edges. Then line also the narrow upright sides. Pull the fabric a few centimetres away from the edges first and spray the fabric and the sides of the case with glue. To prevent spraying glue onto the inside lid locations, it’s best to cover them with masking tape before doing this. Then, when everything is properly stuck on, cut off any excess fabric with a sharp utility knife.
I’m lining the bottom of the case with the black fabric as well. In the end it’s this extra bit of work that will give the case the finishing touch. The foam is there to protect the piano, the fabric provides a nice finish.
Talking of protecting the piano, we should of course not forget the foam for the lid. It’s best to use soft eggbox foam of 5 cm thick for this. I’m not really in favour of lining the whole lid with the foam (if I were to do this, I didn’t have to go through the trouble of sticking all that fabric on). 2 or 3 strips will do. I’ll put them in the spots where the piano is least vulnerable, so preferably in places with no fragile buttons that stick out. Every keyboard is different, so it speaks for itself that common sense is your best friend when it comes to this issue.
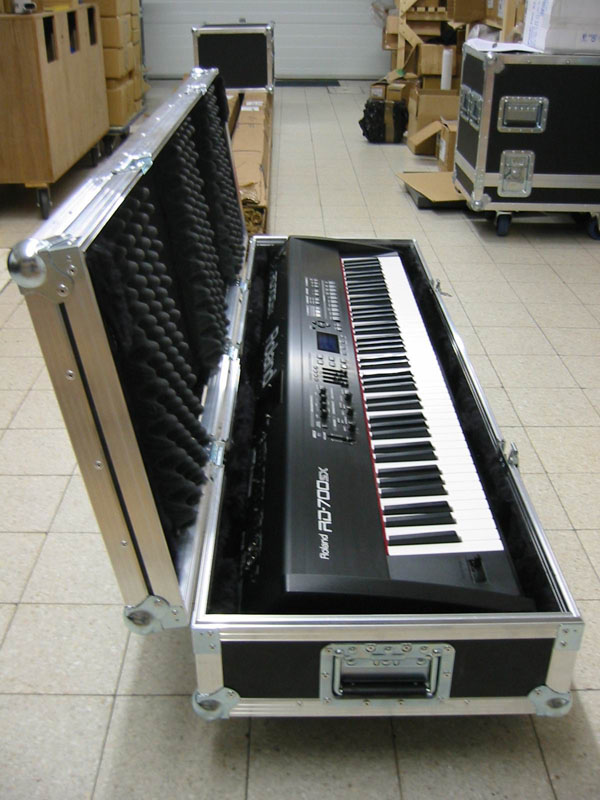
Still a few pictures of the finished end result. And now the ultimate test to see who’s really paid attention in class: name my 4 favourite beers.
>>> Buy your parts <<<
Any questions? Don't hesitate to contact us!